What is the MokiSDK and when would you use it?
The MokiSDK is basically the guts of remote app management. We took the tools we use to manage settings of Moki Kiosk and monitor it’s performance and put them in a Software Development Kit (SDK) that you can put in your apps, thus giving you the capability to remotely manage your own proprietary app. You would use this if you control the code for your app and have items in your app you want to change but don’t want to have to release a new version of the app each time you do so. If you need instructions on implementing it please visit our SDK documentation page.
Step 1 – Installing your app
Once you have completed implementing your SDK you will need to upload it to Moki through the Apps tab. From there you can add it to your enroll code or you can send it to devices already enrolled by going to the Devices tab, selecting your device, clicking the drop down that says Apps and selecting your app.

Once your app is installed on your device it will show up in your apps menu with your icon. You’ll need to open the app so it registers with Moki. Refresh your browser and reselect your device. You will now see your app listed as an enrolled app in the device’s Details tab where you can modify the settings (if you set any up to be modified).
Step 2 – Configure your app’s settings
To start managing settings, click the Manage Settings button and then the Edit Device Settings button. When you have finished editing settings hit the Save button.

Since we didn’t build your app we’re not sure how you have settings configured so hopefully they do what you want them to do. If what you expect to happen isn’t happening please go back through the documentation. If that doesn’t help then you can reach out to our SDK development team at developer@moki.com
Step 3 – Save your settings for later use
After you have your device set the way you want, follow these steps to save these settings to apply to other devices in the future.
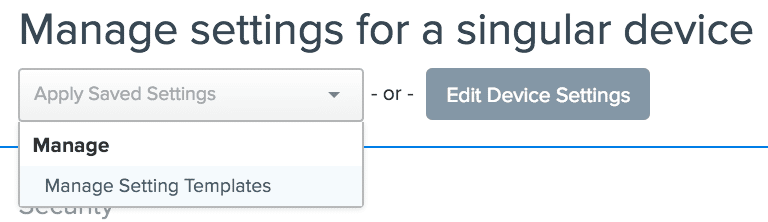
- With your device still selected, click the Manage Settings button then click the drop down that says Apply Saved Settings
- Select Manage Settings Templates

- Click the Create New Template button

- Click the Create New Template button

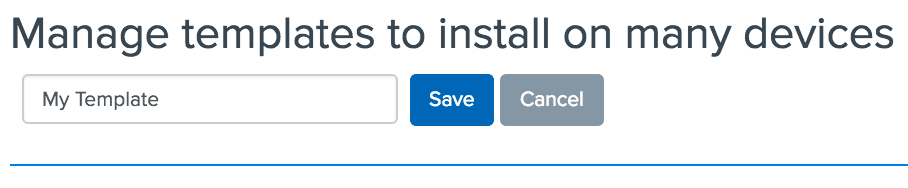
- Give the template a name and hit Save
- Give the template a name and hit Save

- The new template will show up in your Apply Saved Settings drop down for you to apply to your other devices
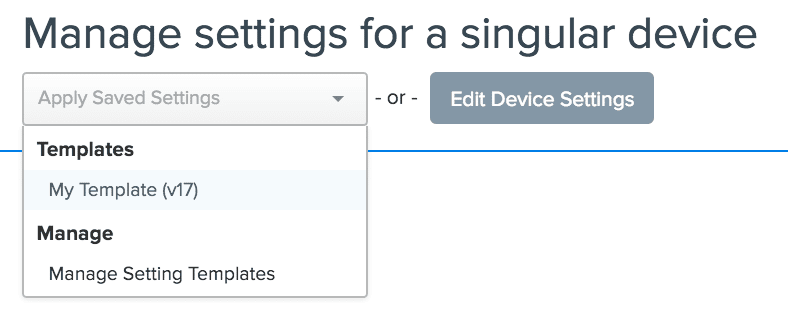

Step 4 – Apply your Saved Settings to the rest of your devices
You can apply one device at at time by selecting the device in the Devices tab, clicking Manage Settings and selecting the Saved Template. Or, you can apply them to the entire fleet at one time from the Device Groups tab. Refer to our articles on each of these topics.
