Learn to Create Alerts for the Moki Agent Platform
Alerts are a powerful and helpful way to assist you in managing your deployed devices. Moki provides a highly configurable method for you to set up alerts for your account. This document will explain how to create and manage alerts.
Opt-In for Desired Events
This is done in the Event Settings under the Account Settings:
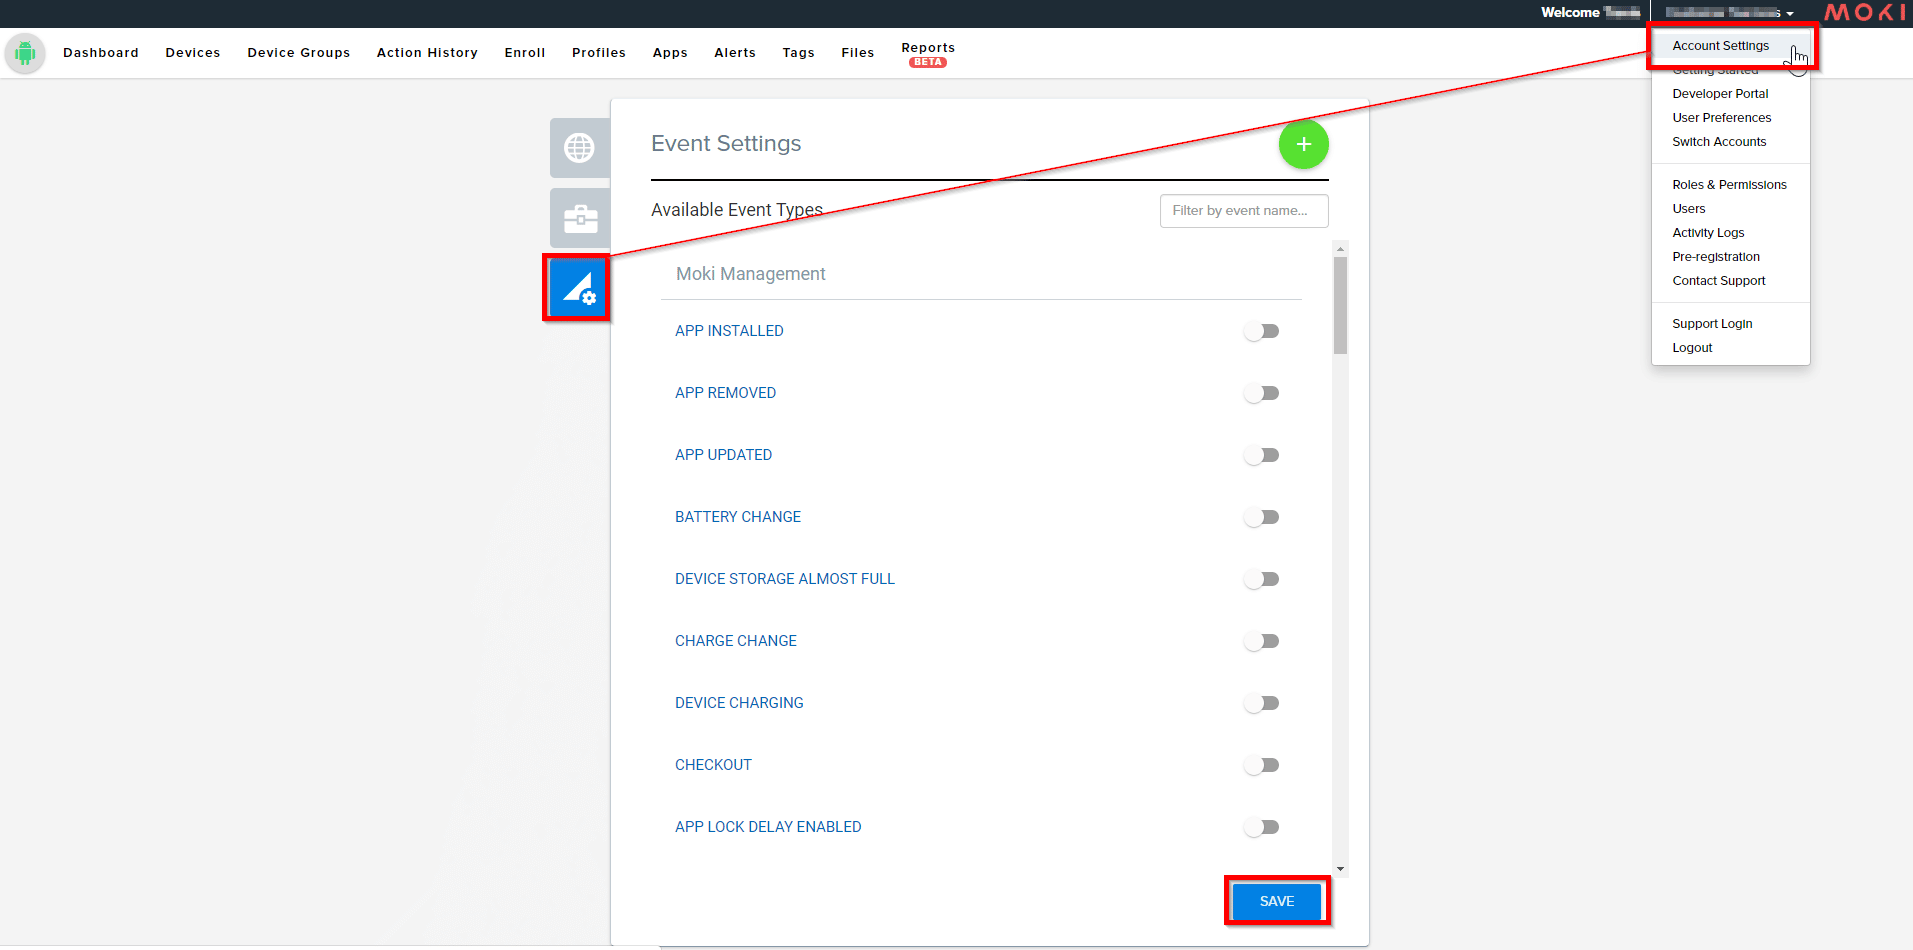
Toggle ON any Events needed for the desired Alerts. Once all desired Events have been toggled on, hit Save at bottom-right. If you are unsure what Events are needed for a specific Alert, please reach out to Moki Support, either via the chat or email support@moki.com.
Once all needed Events have been opted-in to, you can create Alerts around those Events.
Create an alert
The alerts page is where you create and manage your alert definitions. To create a new alert definition, you simply click on the “+” button in the upper right corner of the Alert view.
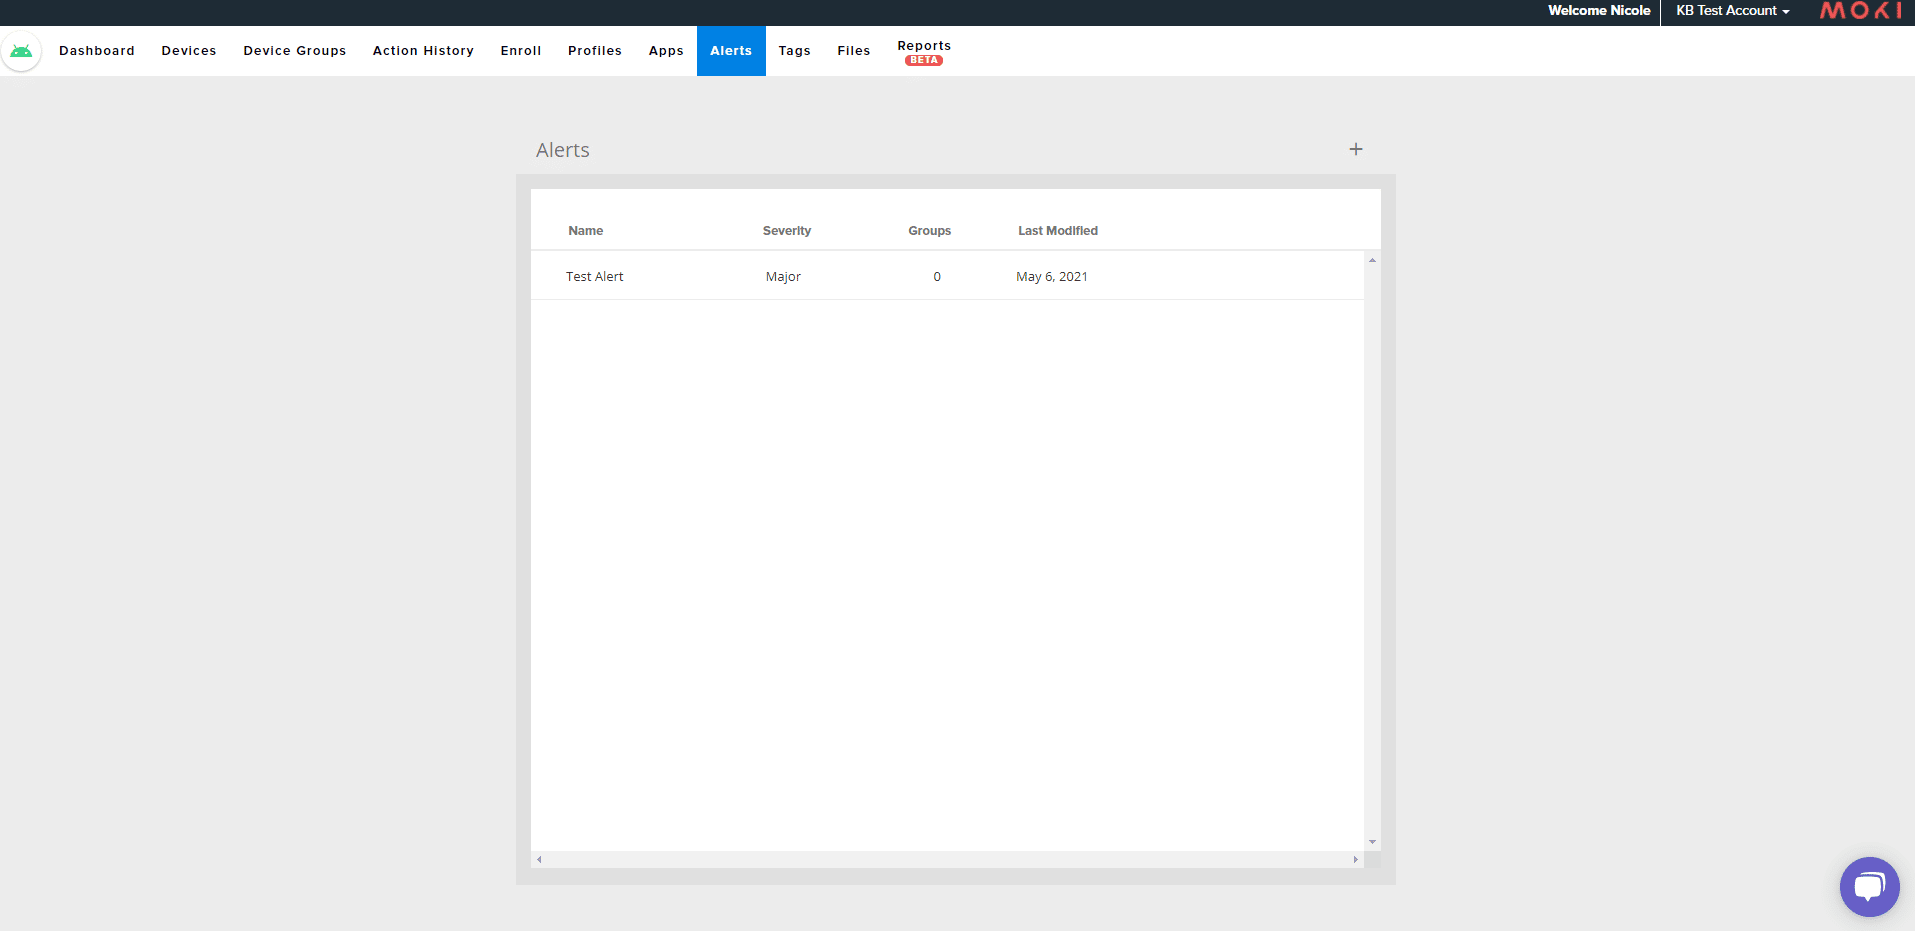
Once clicked you can now create your alert definition.
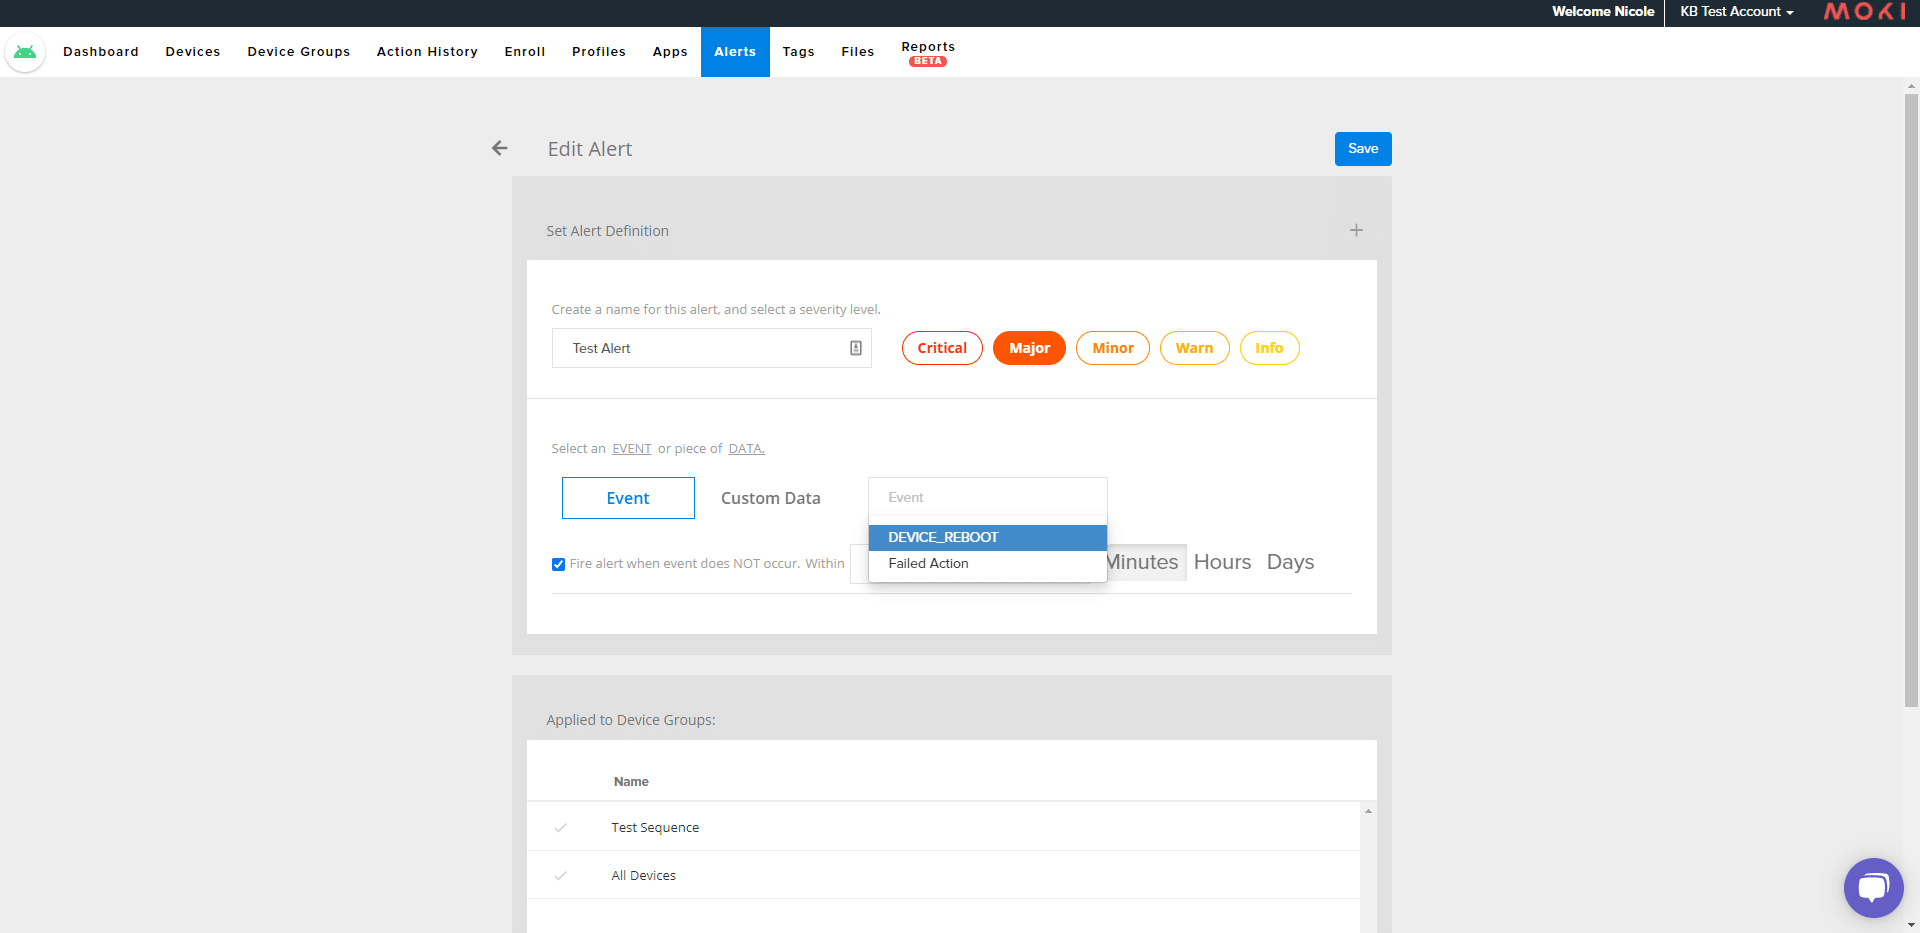
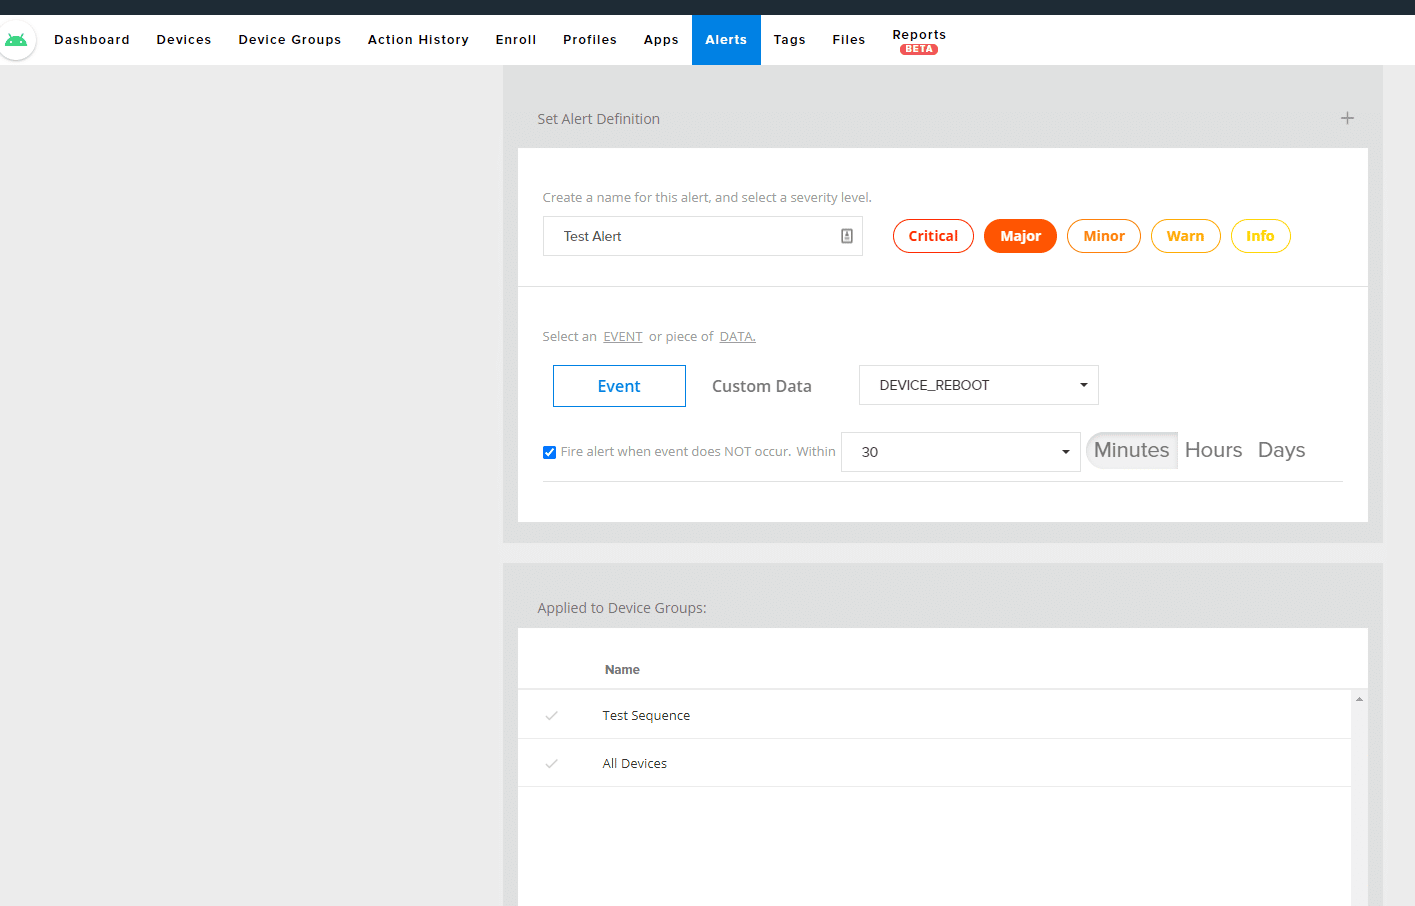
Here are the steps for defining a new alert:
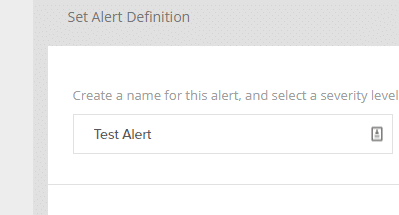
- Give your new alert definition a descriptive name. In this example “Test Alert” is the name.
- Select an alert severity: Critical, Major, Minor, Warn, Info.

- Choose if you want to fire an alert based on an Event or Custom Data:
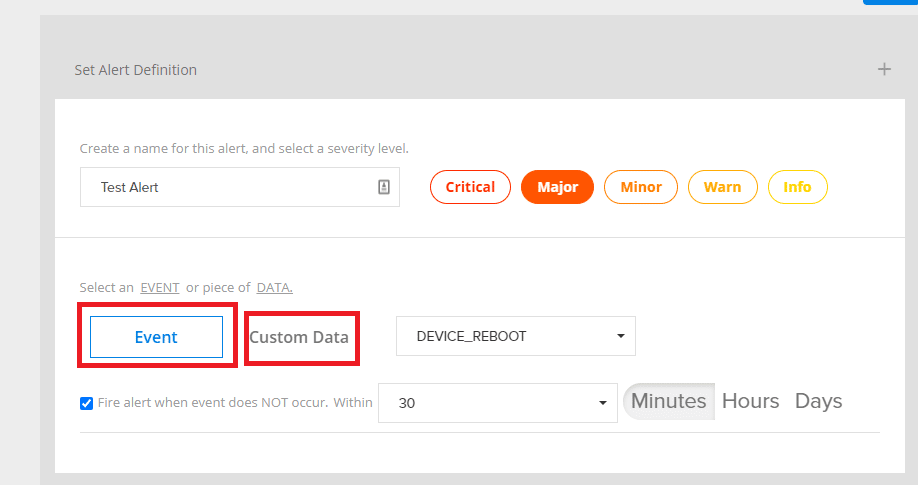
- Event: This is an event reported by Agent. Events can come from basic Android state changes or may also come from your SDK enabled apps. If you choose an Event, the alert will fire when a device in your group reports that event. There is one event that doesn’t require the device to report but rather is sent from the Moki server. This is the “failed action” event. The failed action event is registered when Moki encounters an error sending an action to your device. This can be from a direct action sent to a single device or based on a scheduled action. This will help to watch devices with failed actions so you can attempt to repeat them if necessary. NOTE: that Event data grows over time so your devices might not have sent some types of events to your account yet and so in those cases, you won’t be able to alert on them until the first time they are sent. This is also true of failed actions but as soon as an action fails it will be available for your future use.
- Custom Data: Custom data can be sent to Moki from SDK enabled apps. This includes many important Android device checks that Agent checks such as battery level, memory usage, etc.
- Fire alert when the event does NOT occur: You may also fire alerts based on the absence of an event type. For example, if you wish to be alerted that a device has missed scheduled heartbeats (indicating it may be offline) you can choose the event type “DEVICE_UPDATE.” DEVICE_UPDATE will be reported with every heartbeat and sometimes multiple times per heartbeat so if that isn’t seen for a defined period of time you can infer that the device is offline. NOTE: Moki recommends that this time period is set to at least 2x your heartbeat interval. Most devices have a 60-minute heartbeat so setting this time window to at least 120 minutes or higher will help prevent getting false reports.
Setting alert targets
The final step to creating alerts is setting your alert targets. This is done in the alert area of each device group.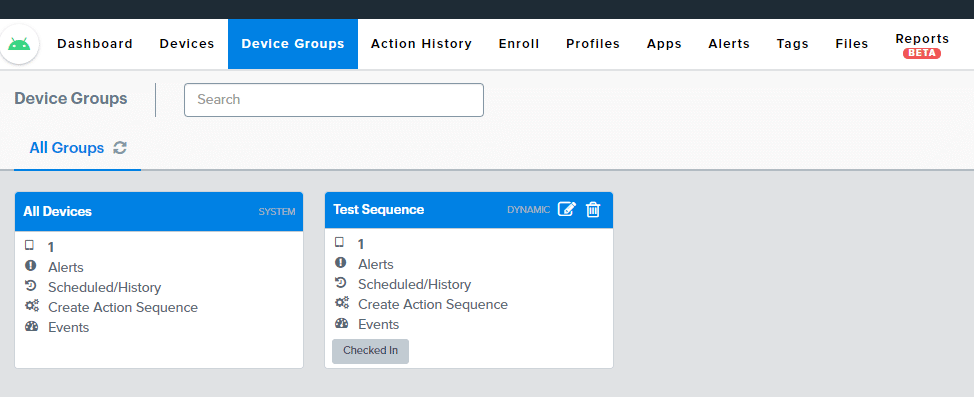
- Decide which device group you want to configure to send the alert.
- Click on the “Alert” link within the box for your device group.
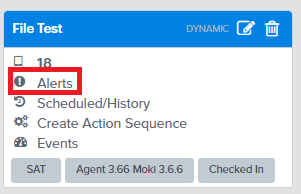
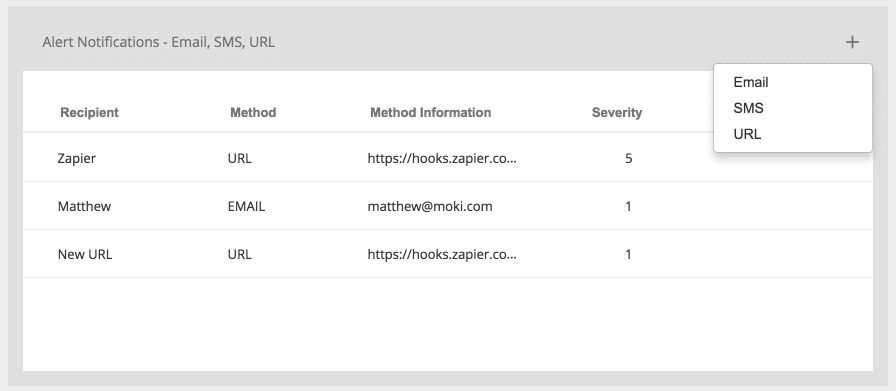
- On this page, you add alerts you have already defined in the top box by clicking the “+” button in the upper box.
- In the lower box, you set your alert targets. The options are email, SMS/text, or URL
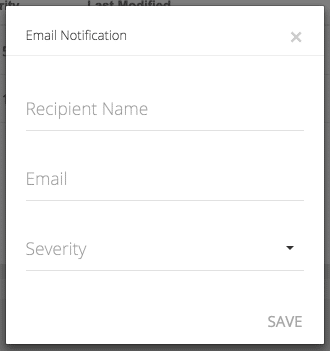
- Recipient Name
- Email address
- Severity(setting to “Info” gets all alert severities, setting to “Minor” gets alert severities Minor, Major, and Critical, and setting to “Critical” gets only alert severity of Critical)
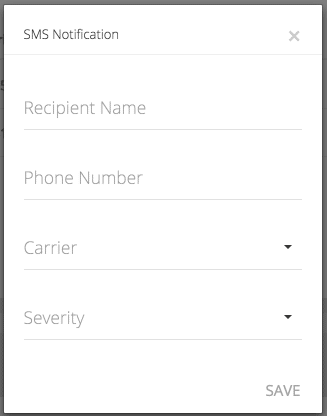
SMS (Text)
SMS alerts require the following settings:- Recipient Name
- Phone Number (including area code)
- Carrier (choose your carrier from the select list)
- Severity (setting to “Info” gets all alert severities, setting to “Minor” gets alert severities Minor, Major, and Critical, and setting to “Critical” gets only alert severity of Critical)
URL
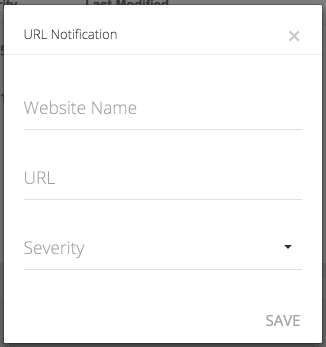
Alerts can be sent a notification JSON file to a URL. These can be used as webhooks for applications like Zapier, or you can create your own app and provide that URL to the alert, and you can process it how you like. URL alerts require the following settings:- Website Name
- URL (webhook or custom URL)
- Severity(setting to “Info” gets all alert severities, setting to “Minor” gets alert severities Minor, Major, and Critical, and setting to “Critical” gets only alert severity of Critical)
