Section 1: Log in to Moki
You should have received an invitation to create your account. You will need a Google account to access the Total Control portal because it uses Google App Engine, and therefore only a Google account can get you in. If you don’t have a Google account go to accounts.google.com/signup, where you can use one of your existing email addresses or create a new Gmail address to use for Moki. For the best experience, use the Chrome browser when using Moki as it is our only supported browser. Do not use Internet Explorer.
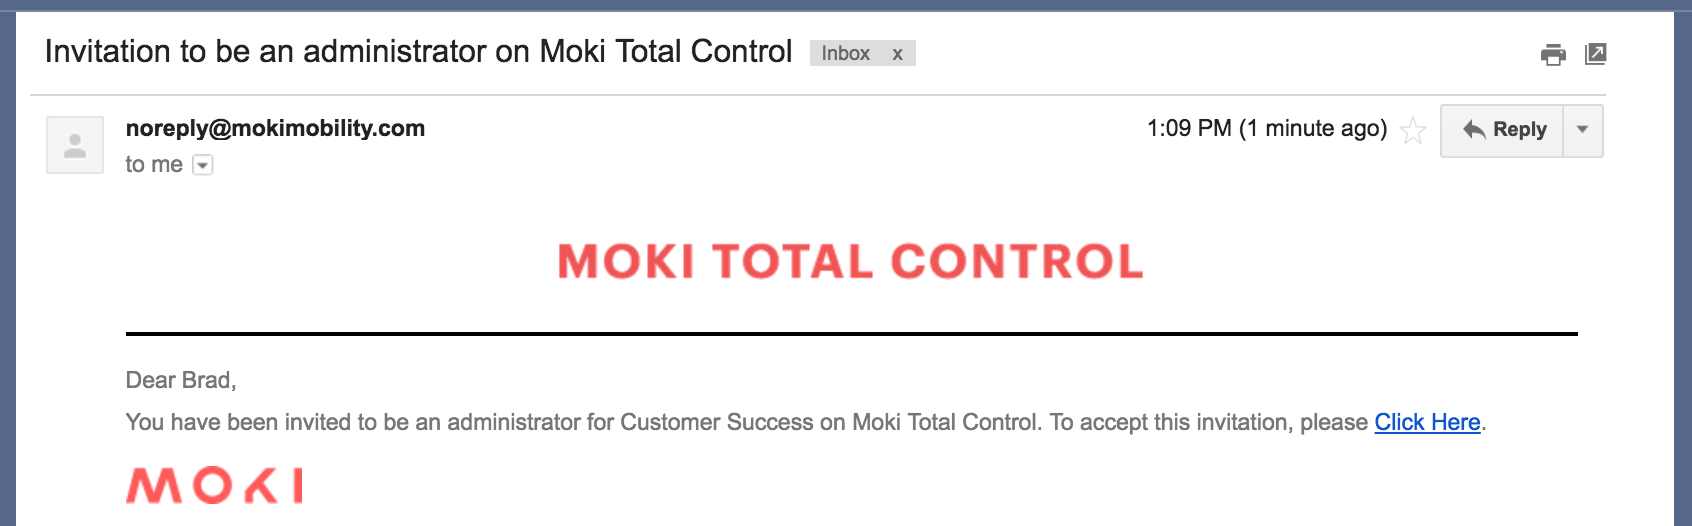
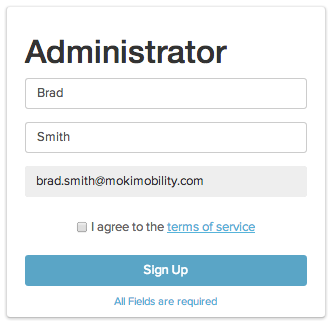
When you click the link in the invitation from an email that is tied to a Google account, your information will automatically populate, so all you have to do is agree to the terms and hit Sign Up.
Coming Back to Moki
the URL for Moki is mokimanage.appspot.com. The link in your email expires after you complete this process, so you’ll want to save the link to your bookmarks so you can come back. If you are attempting to access Total Control on a mobile device, then you’ll need to use mokimanage.appspot.com/app.
Section 2: Apple Certificate Setup
In order to remotely manage iOS devices, Apple requires your account to be registered with Apple once per year. Fortunately, this is a quick and simple process that we will walk you through. It is called APNs setup (Apple Push Notifications Setup). There are two more items that you can set up to make managing your devices easier, Device Enrollment Program (DEP), and the Volume Purchasing Plan (VPP). We’ll explain more of these in detail as well as links on how to set them up completely.
Step 1 – Setting up APNS
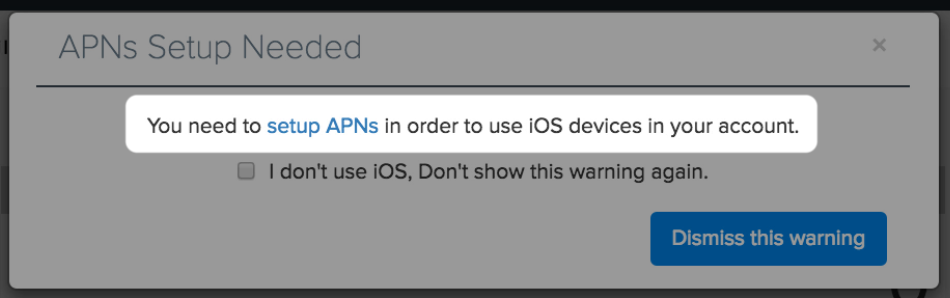
The first thing we have to do to get Moki Total Control setup is to register your account with Apple. If you didn’t click the setup APNS link in the pop-up box, follow these steps to set up APNS.
- Click the setup APNS link in the pop-up box.
- If you clicked out of this, click on your account name in the top right and select Account Settings.
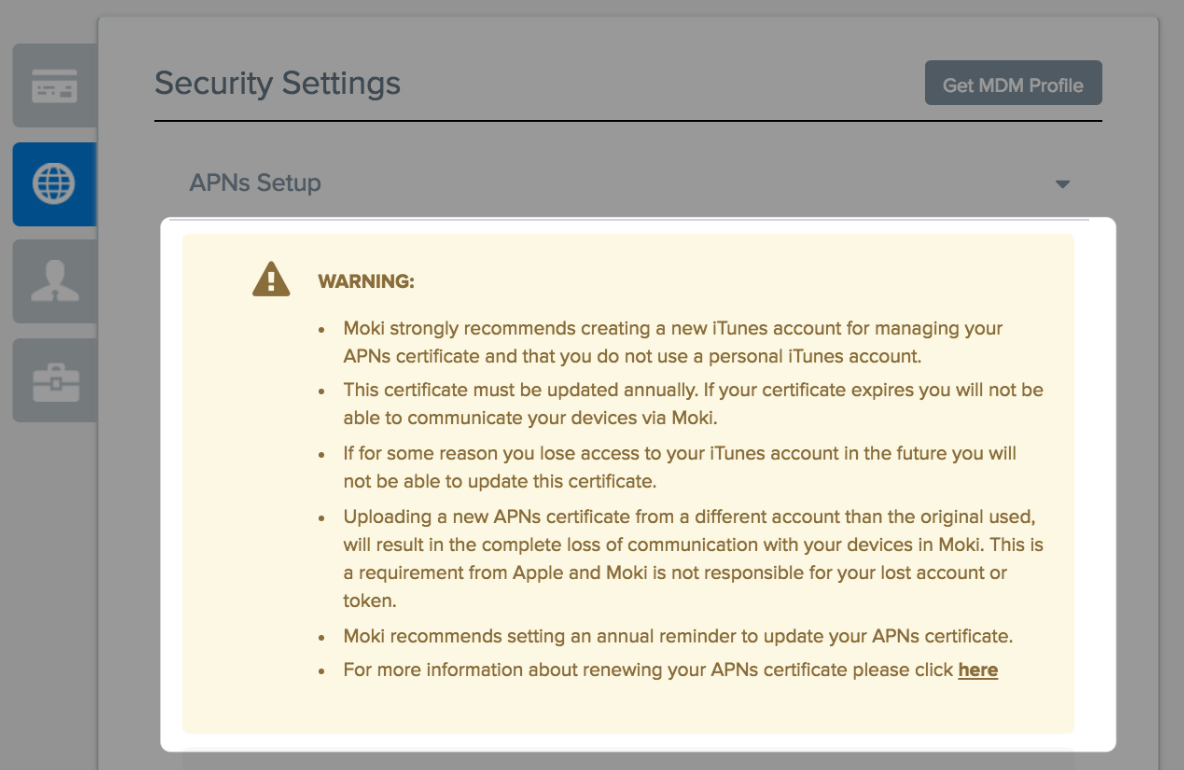
- Read the Warning at the top, which tells you that you should create a generic company Apple ID and then proceed through the steps.
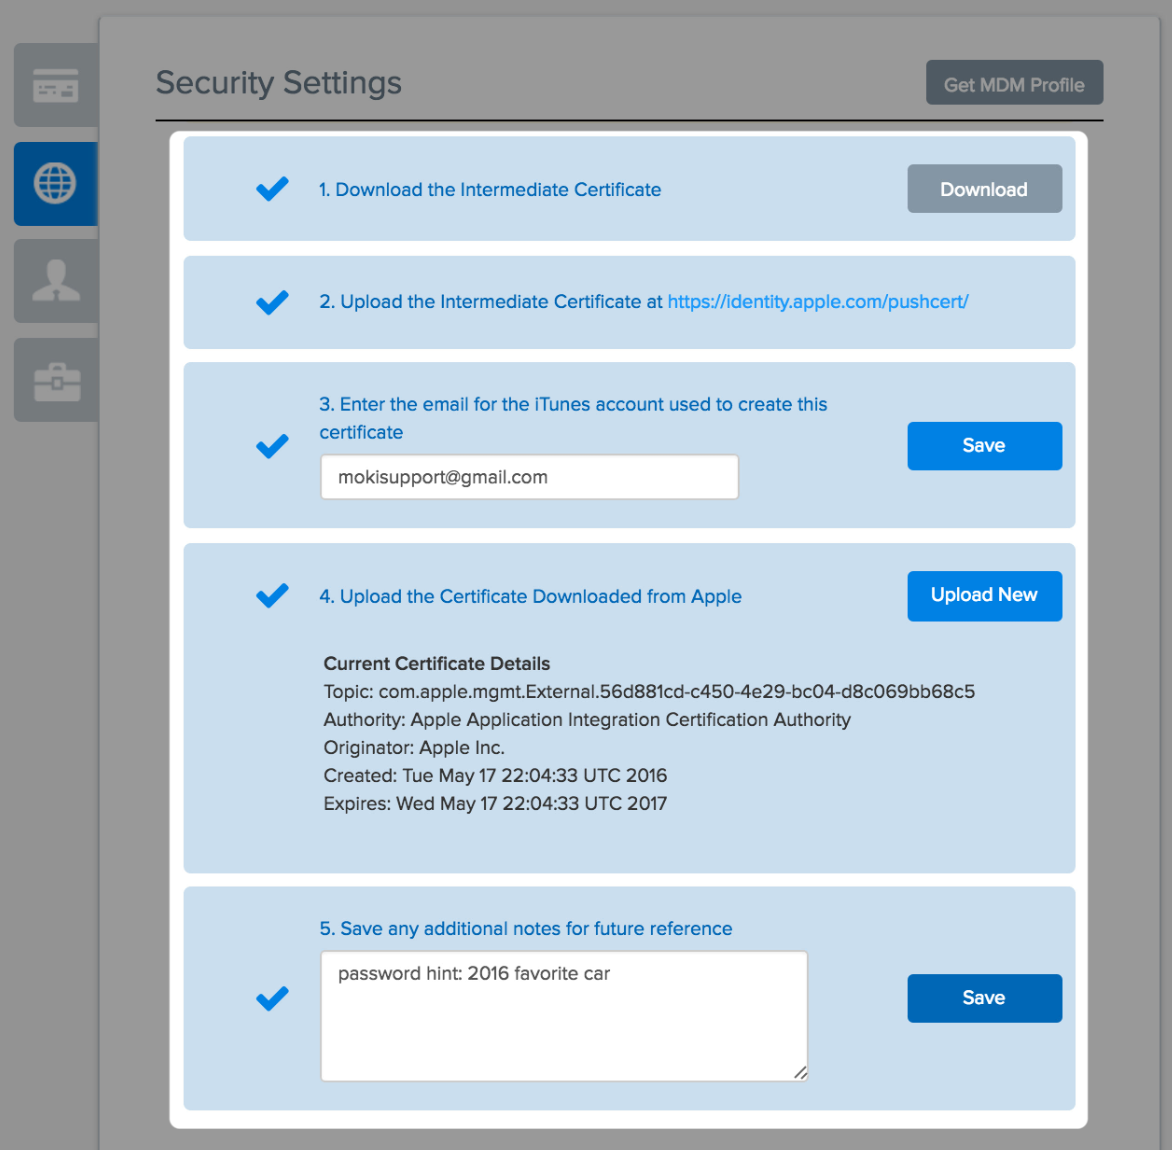
- Click the grey Download button on step 1. You only want to save this to your files; you don’t need to install it

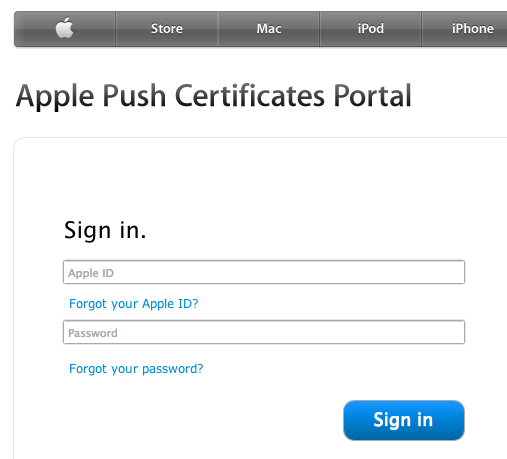
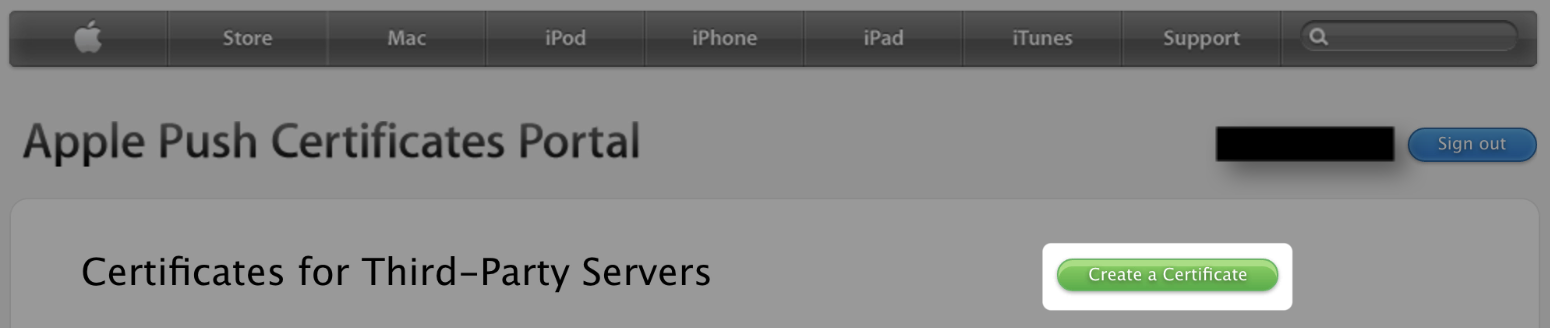
- Click the link for identity.apple.com/pushcert on step 2 and sign in with the generic company Apple ID we discussed above.

- Click on the green Create a Certificate button. If you just created your ID, then the button will probably be blue and on the left of the page under a Get Started message. Accept the terms.
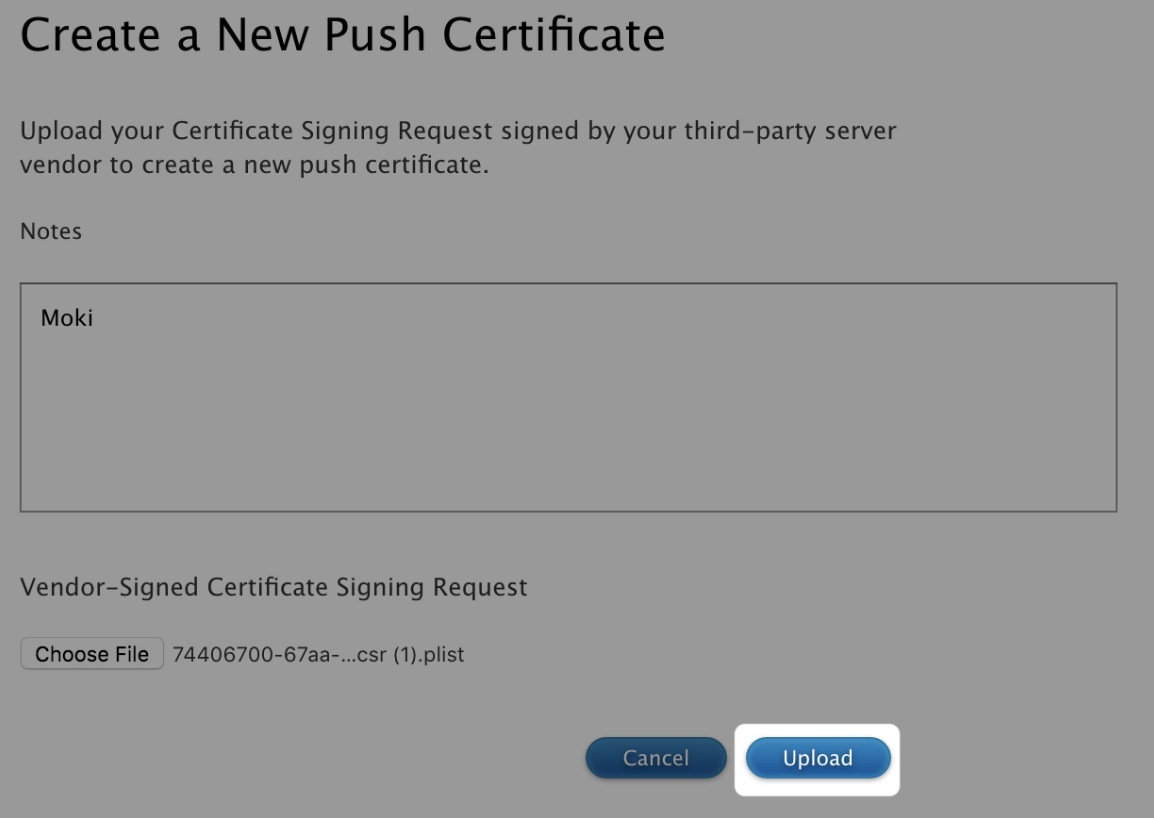
- Upload the .plist file you downloaded from Moki and hit Upload.
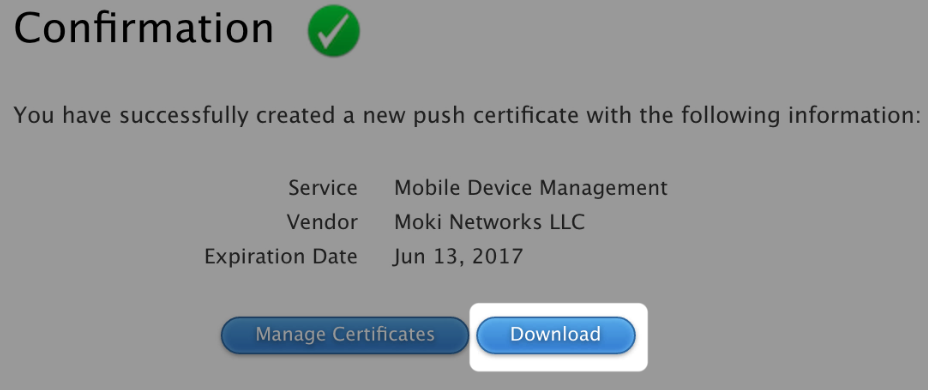
- Once the file has been uploaded, a confirmation message will appear. Click the blue Download button.
- Go back to MokiManage.com and enter the Apple ID email and hit Save.
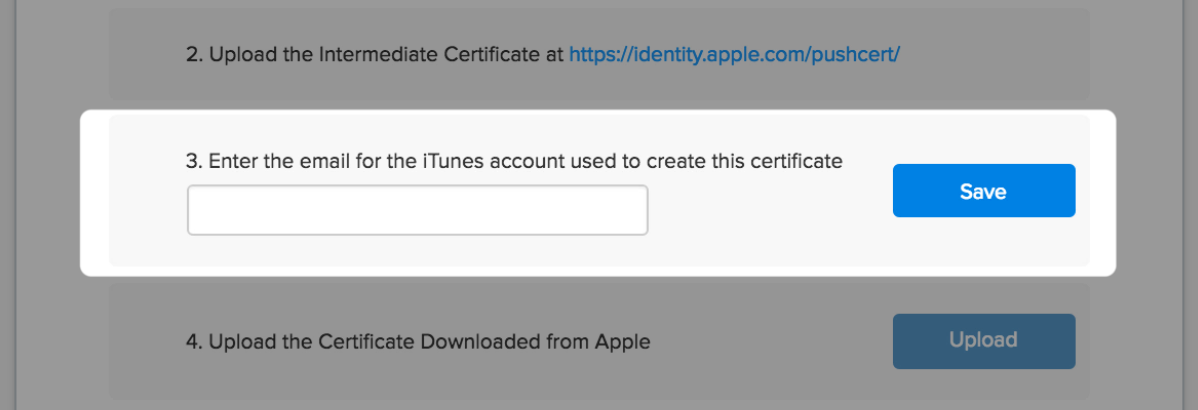
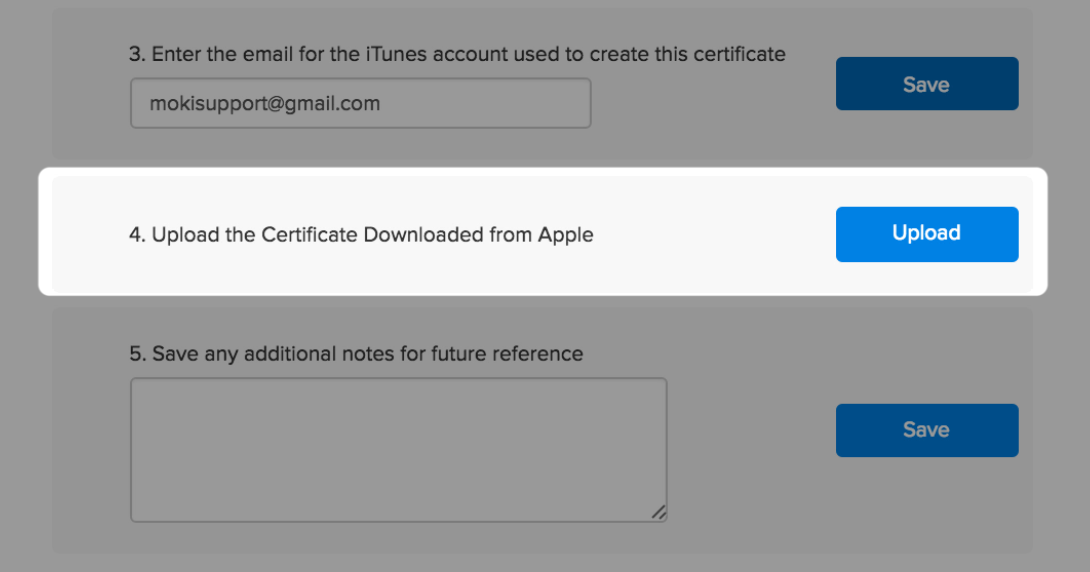
- Click on the blue Upload button in step 4 and select the .pem file you downloaded in the previous step.
- When you have uploaded the certificate, the boxes will change to show you the proper steps have been completed. In step 5, you can save any notes you would like, such as password hints, etc.
Step 2 – Setting Up DEP (Optional)
DEP is Apple’s Device Enrollment Program that allows companies to purchase devices directly from Apple and ship them onsite. When the device is turned on, it will enroll automatically and be configured with the settings from your enroll template. If you are installing store apps, you would also want to use VPP as it would allow you to install them without needing to sign in to iTunes on these devices. You can register and learn more about DEP by going to deploy.apple.com. Once your APNS Setup is complete, you can add your DEP credentials. If you want to get set up now and convert to DEP later you can, just continue through the steps. If you want to set up DEP now, here are the DEP setup steps.
Step 3 – Setting up VPP (Optional)
VPP is Apple’s Volume Purchasing Plan. This can be used for apps in the App Store and B2B store. It is most helpful because you can install apps without signing into iTunes. You can register for VPP by going to deploy.apple.com. Once your APNS Setup is complete, you can add your VPP token. Here are the VPP setup steps. You don’t have to use VPP, but it makes it easier at times.
Section 3: Preparing Your Account for Enrollment
Moki has created an enrollment process that allows you to specify the apps, profiles, and tags that are applied to devices upon enrollment. This is done through what we call Enrollment Templates. In order for an app, profile, or tag to be added to an enrollment template, it first has to be added to your account. Here is a description of apps, profiles, and tags, for those who may be unfamiliar with these terms.
- Apps – iOS apps that can be installed on an iOS device. These can be apps available in the App Store, and B2B store or they could be enterprise apps that you distribute internally or built specifically for this project
- Profiles – Files that control specific settings of an iOS device. Some examples would be a WiFi profile containing the network credentials of any networks the device will connect to, or a Restrictions profile that locks the device down to a set of approved apps, or locks the device down to run only one app
- Tags – Moki’s method of organizing devices inside the Moki account to help with updates, alerts or troubleshooting
Step 1 – Upload your app
If you have your own app or are using an app found on the App Store, you’ll need to upload that app into Moki so you can control the app installation and updates. If your kiosk displays your website, then you will be using our app called Moki Kiosk. This app is already installed in your account and you can skip to Step 2.
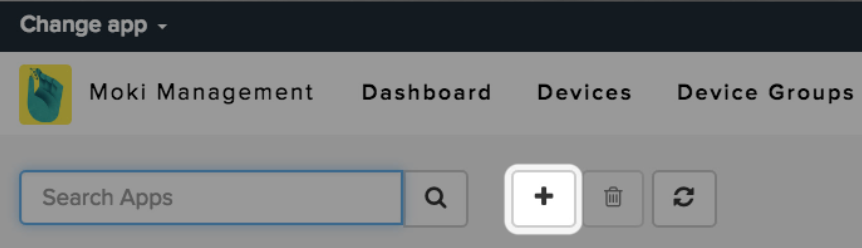
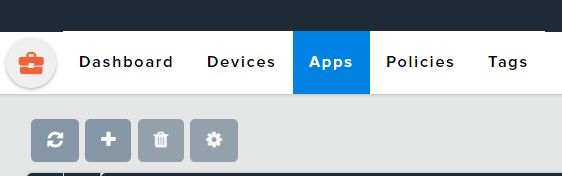
- Click on the Apps tab.

- Click the + icon on the left.
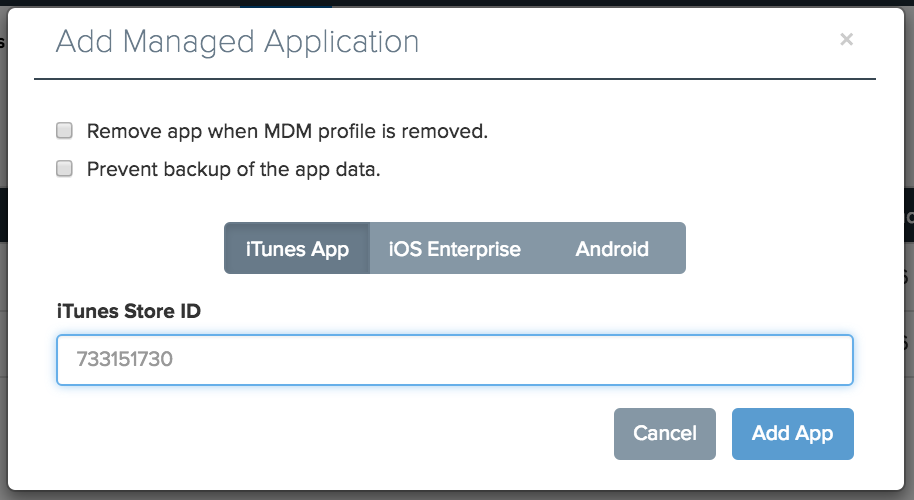
- If your app is on the iTunes store, you only need the ID number for the app. The quickest way to get this is to Google the app and iTunes in the same search criteria. See the first screenshot below for how to format your search. Click on your app from the search results and then look at the URL and copy the numbers after the ID. Paste the numbers into the iTunes Store ID field and hit Add App


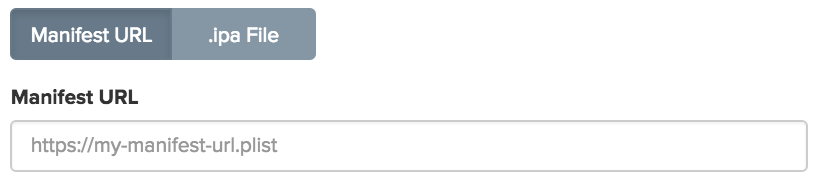
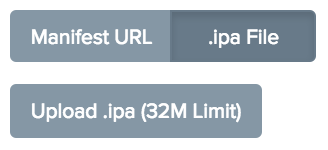
- If you’re using an Enterprise app, then you can either upload the .ipa file and host it on our secure server (32 MB max), or you can insert the manifest URL ending in .plist.
Step 2 – Create Profiles
Profiles are the way that we manage the settings and user experience of the device. Below is a brief description of how to create your profiles. You can also read this article on the iOS Profile Definitions.
- Click the iOS Profiles tab in the top navigation.

- Select the profile you want to create and hit New Profile.
- Below is a brief description of the available profiles. For a more complete walkthrough on how to set each of them up, please refer to this article on iOS Profile Definitions
- Restrictions – Restrict which apps, device functionality, and media content are available to the user
- Passcodes – Specify passcode policies to be enforced on the device
- WiFi – Save a WiFi network SSID and password to the device so that when a network is in range, it can connect without needing user interaction. There can be multiple WiFi profiles on a device at one time
- Web Clips – Specify a URL to be added to the Home Screen for easy access
- App Lock – Lock the device down to a single app
- Global Proxy – Sets the HTTP PROXY settings for your network traffic to run through
- Custom – Is where you would go to upload profiles created in Apple Configurator
Step 3 – Create Tags
If you want all your devices to come preconfigured with organizational Tags, then follow the following steps; otherwise, proceed to Step 4.
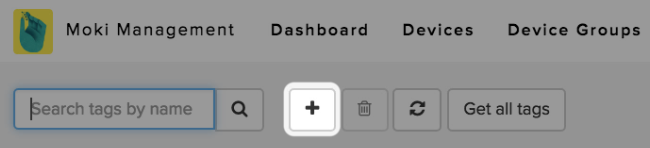
- Click the Tags tab in the top navigation.

- Click the + icon on the left side of the screen.
- Type in your tags and hit Enter (Tags can have spaces)
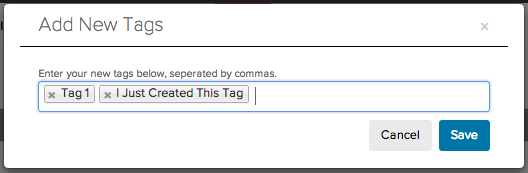
- Hit Save
Step 4 – Enrolling Your Devices
Now that you have added all the apps, profiles and tags into your account, you are prepared to create an Enrollment Template
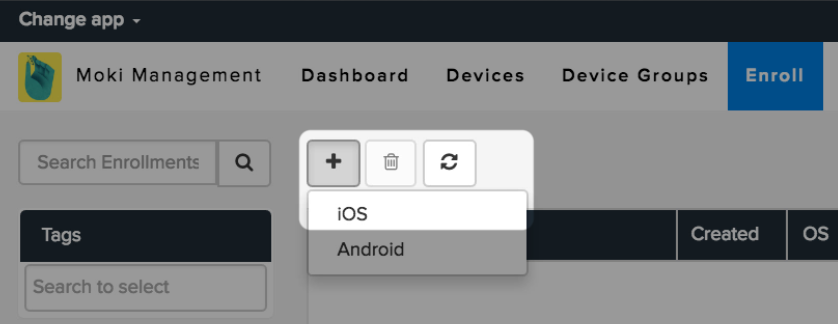
- Click on the Enroll tab at the top

- Click on the + icon and select iOS.
- Give the enrollment a name to remember it later and select the text boxes underneath each section to add the Apps, Profiles, and Tags you want devices to receive when using this template.
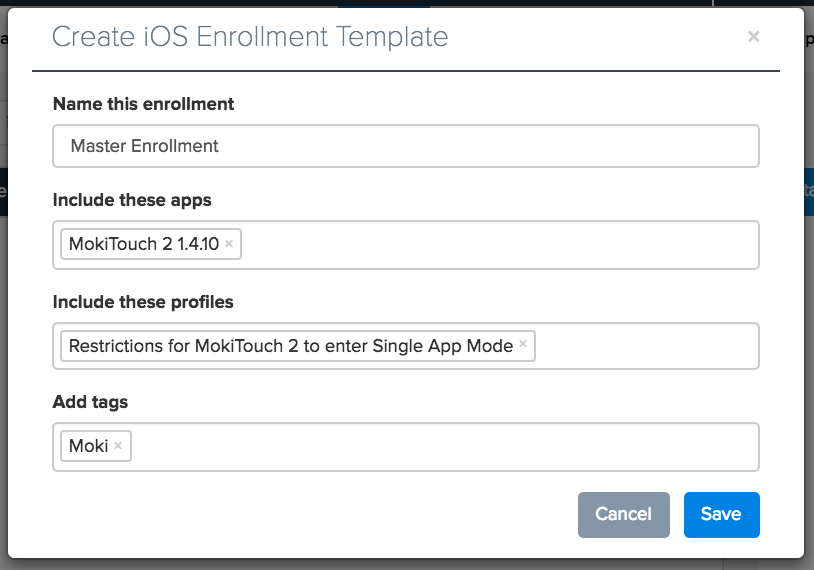
- Hit Save
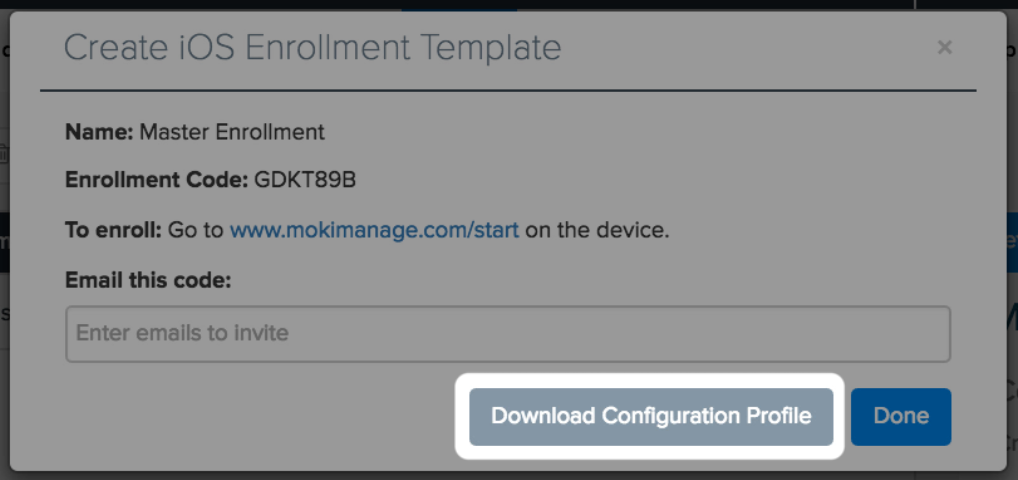
- Click the Download Configuration Profile button, and then you can hit Done
Step 5 – Methods of Device Enrollment
There are three different methods of enrolling your devices, and each comes with different benefits and options for updating and controlling the device as well as a different process to enroll (It’s an Apple thing). If you already know the method you are going to use to enroll, then skip to the bottom and choose the enrollment method you will use. If you aren’t sure which method you will use, then read the following descriptions.
Method 1 – DEP
DEP stands for Apple’s Device Enrollment Program. It is the only method of enrollment that allows you to update the OS remotely. You must apply to join the program, and Apple must approve your organization. Some of its benefits include:
- Ship devices directly to their destination
- Supervises the devices
- Allows remote iOS updates
- Update apps without user interaction
- Use App Lock or SAM
- Use VPP
- Devices will reenroll upon a factory reset
While it does provide several benefits, it is the most complex and difficult to set up all the options. It requires a new Apple ID and requires you to register with and use VPP if you don’t want to give locations the credentials to your iTunes account.
Method 2 – Supervise with Apple Configurator
This option provides the most granular control of your device settings and UI, but it also requires that you have a Mac computer and can take the time to configure your devices yourself. Some of its benefits include:
- Supervises the devices
- Use App Lock or SAM
- Use VPP
- Update apps without user interaction
- Configure up to 50 devices at once
Method 3 – Enroll through the Website
This is the simplest method of enrollment as it only requires you to go to a website in safari, enter a code, and then allow a profile to be installed. However, it also comes with the most limitations for controlling it remotely. Some of its characteristics are:
- Enroll from a website
- Use VPP
You’ll notice that it doesn’t allow for any type of lockdown remotely or remote app updates without user interaction. This is the least used method.
