Moki Alerts for Android are an effective way to help you manage your devices. There are 5 main areas for using alerts in your account:
- Setting up alerts
- Specifying alert recipients
- Monitoring alerts
- Responding to alerts
- Clearing alerts
Here’s what you need to know about them
Setting Up Alerts
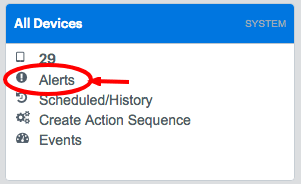
Alert setup is accomplished in the “Alerts” tab of your account view.

On this page, you define your alerts. There are myriad options for defining alerts based on two types of data; Events and Custom Data. Events are sent to Moki from the device when the device checks in and includes things information from Android, Moki Agent, Moki SDK enabled apps and a special event that comes from the server to let you know if an action you sent to the device has failed. Custom Data comes from Moki SDK enabled apps and allows you to fire alerts based on value conditions for that data.
For a detailed overview of defining alerts check out the help article Creating alerts for Android devices.
Specifying Alert Recipients
Once you have your alert conditions defined, the next step is to associate these conditions with a group of devices. This step is done in the “Device Groups tab” of your account view.

Click on the device group where you want to configure alert delivery as below:

From this window, you can specify which alert definitions are relevant for your device group and then define how you want these alerts delivered. Your options for alert delivery are email, SMS text, and URL.
Monitoring Alerts
Once you have configured your alerts you will begin to see them in your inbox (or other delivery location). Each alert email contains information about the alert as well as a direct link to the device so you can look to resolve the situation if warranted. There are two other ways to monitor alerts and take action on them; account dashboard and device groups.
Dashboard

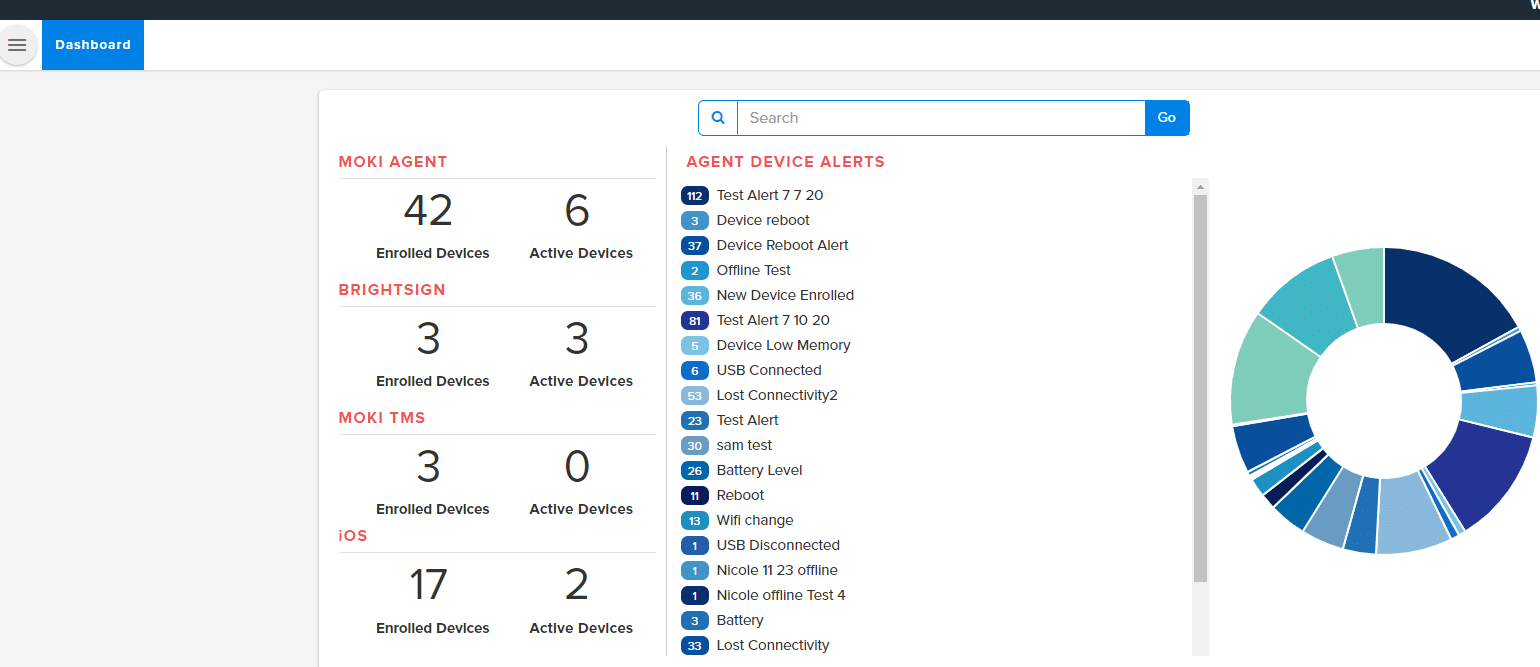
You will see on the dashboard, a new alerts widget. This shows all of the alerts that have fired in your account. If mouse over each section of the ring you will see those devices represented. Clicking on any section of the ring will allow you to view a filtered list of devices with that alert.
Individual Device
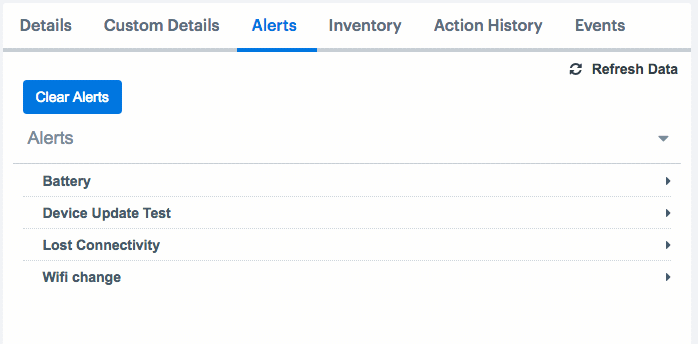
Each device has an “Alerts” tab within the device details view. Clicking on the tab will show all active alerts on the device.

Expanding each alert will show you the first time it fired on the device and the most recent time it fired on the device.
PLEASE NOTE: In order to continue receiving alerts on an ongoing basis, previously fired alerts will need to be cleared by selecting the blue “Clear Alerts” button. Alerts will stop notifying you if there is a build-up of the same alert that has not been cleared out.
Device Groups
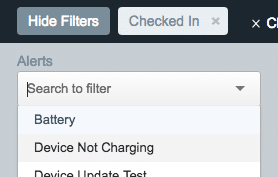
You can set up device groups that function as “Alert Groups”. To do this create a new device group and use the “Alert” filter as the criteria for selecting devices. Choose an alert and anytime a device fires the alert it will become a member of that group until the alert is cleared.
Responding to Alerts
Depending on the alert that is sent, you may want to take further action on the device for some type of intervention. There are three ways for quickly and easily finding devices in an alert state.
- Clicking on the device link in the alert message.
- Using the dashboard widget to click into a filtered list of devices.
- In the device list, you can filter devices by alert type.

Clearing Alerts
Clearing alerts is simple. Once you have remedied the situation surrounding your alert, simply click back into the “Alerts” tab for your device detail and then click on the “Clear Alerts” button. That will remove all active alerts for your device.
NOTE: Clearing an alert from a device that still qualifies for the alert condition will cause the alert to immediately fire again.
That’s it for the alerts overview. Enjoy!