Supervised method for enrolling iOS devices in Moki Total Control
Supervising your devices has many distinct advantages. For starters, you’ll be able to do remote app updates without any user interaction, update your device’s OS version, install an app lock profile, and more.
Many of the steps in this setup will only apply to the first device added through Apple Configurator. Subsequent device enrollments will be easier and won’t require so many steps. Please refer to the following article if you would like to learn more about supervising additional devices after you have gone through this guide.
Link to Support Article: Supervise Additional iOS devices
Step 1 – Download and Install Apple Configurator 2
To Supervise devices, you’ll need a Mac running Mac OS, the latest version of iTunes, and Apple Configurator 2 or greater. Also, if you have Find My iPhone enabled on your devices, you will need to disable it.
- Download Apple Configurator 2 from the Mac App Store.
- Open Apple Configurator 2.
- Make sure iTunes is closed as they cannot run side by side for this process.
Step 2 – Prepare Your Device
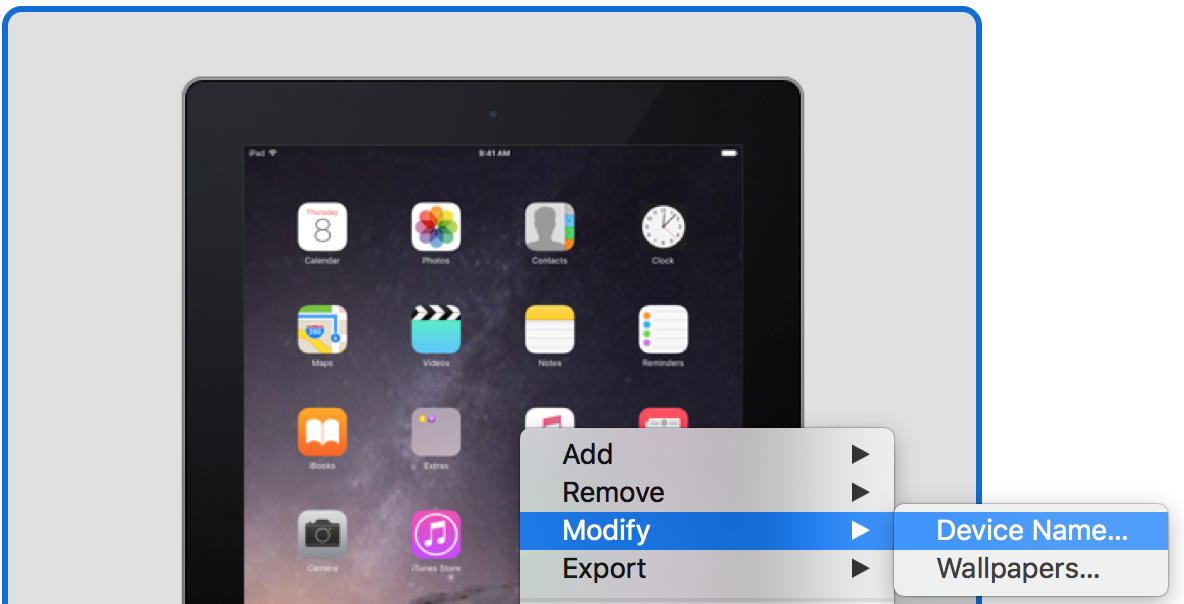
- Open Apple Configurator 2 (hereafter referred to as Configurator) and plug in your device. Give the device a name by right-clicking on the device, by selecting “Modify” and then by selecting “Device Name.” Type in your entry, then click “Rename” to save. You can also select the “+” icon to use various identifiers for the device’s name.
- Click File > New Blueprint.
- Give the Blue Print a name and select “Done.”
- Click the Prepare icon at the top.

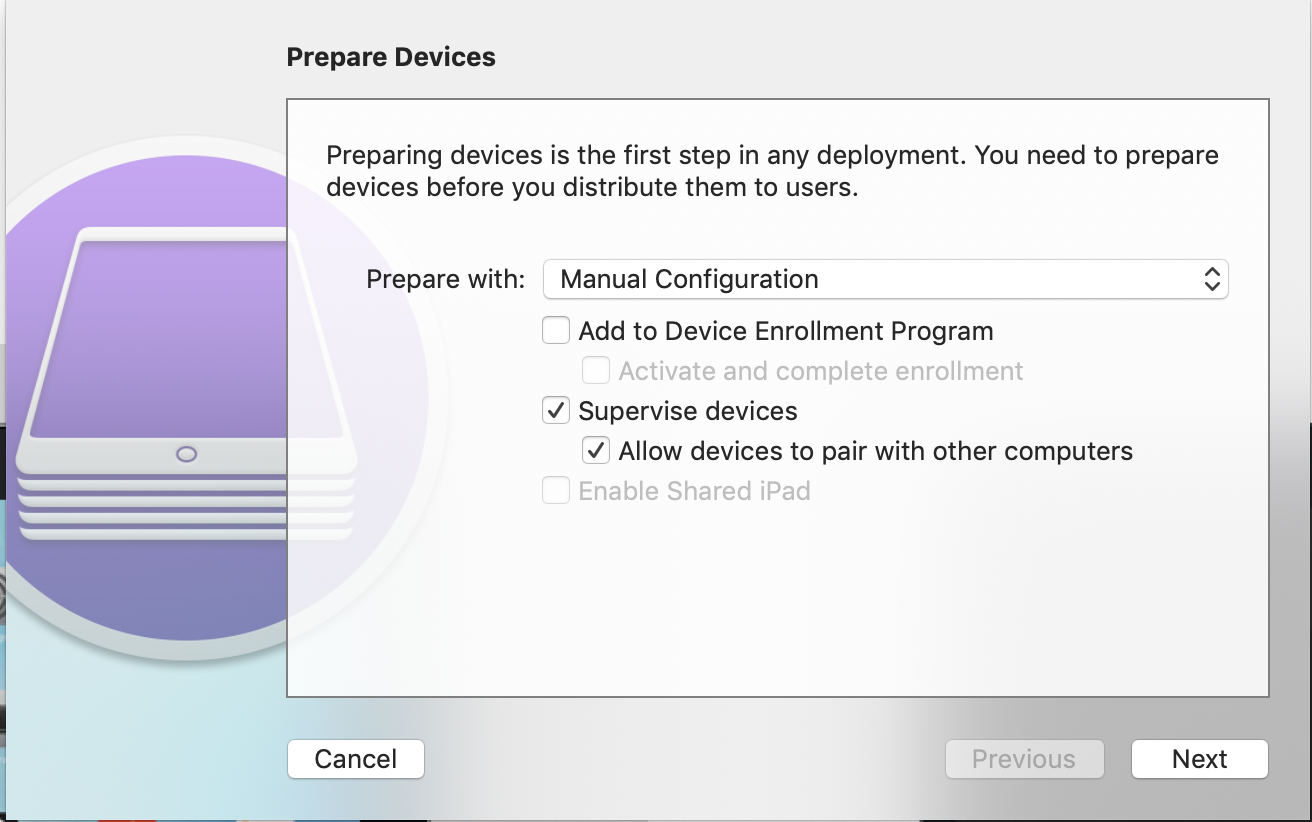
- Select “Manual Configuration,” toggle “Supervise devices” (toggle “Allow devices to pair with other computers” if you want to be able to connect your devices to other computers in the future), and click “Next.”
- Select “Do not enroll in MDM” and click “Next.”
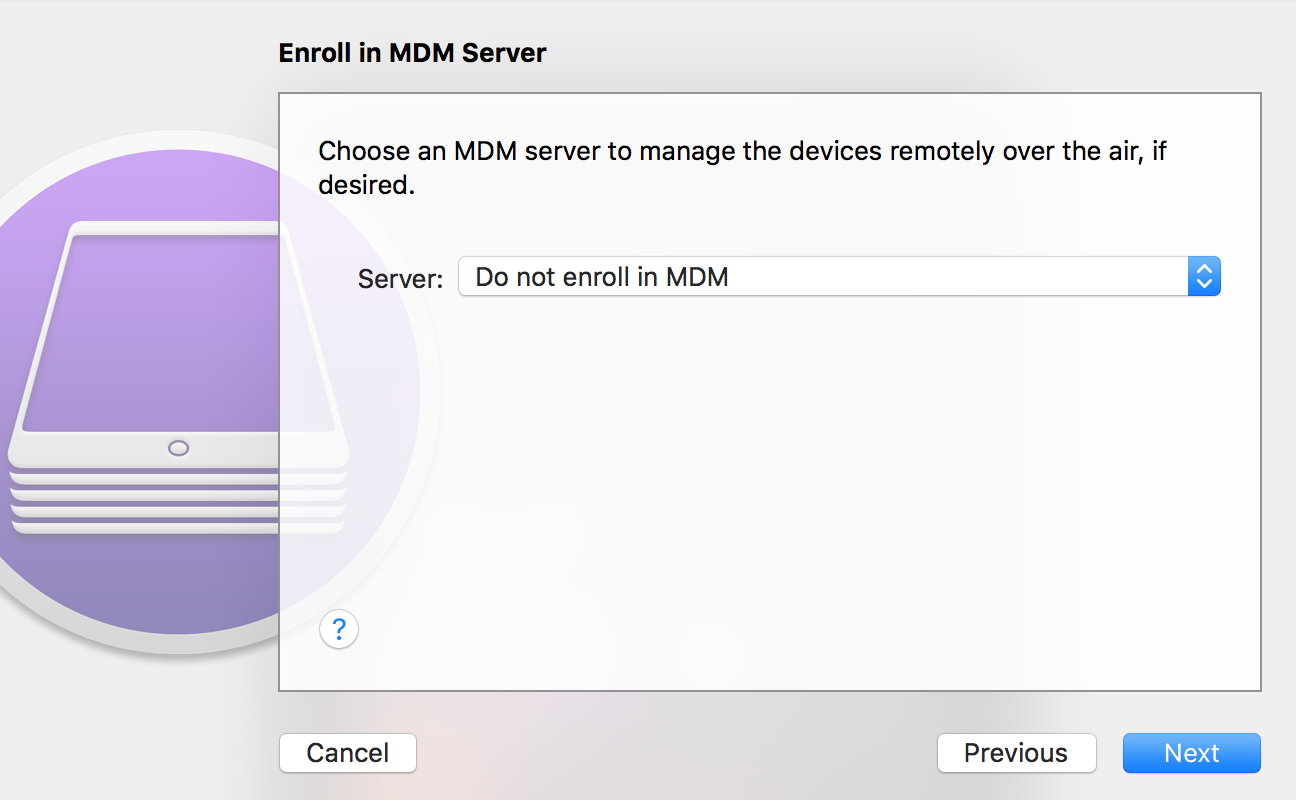
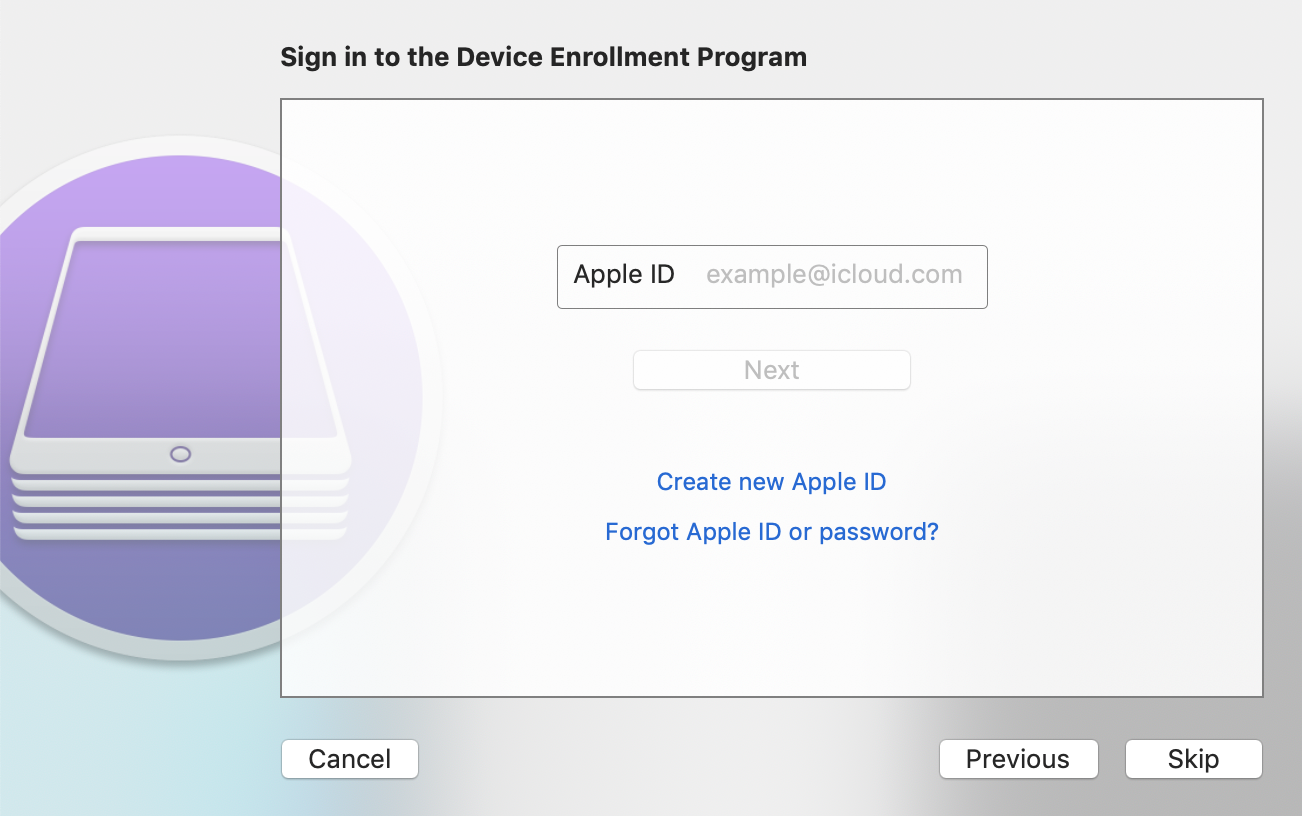
- Sign in to your DEP account if desired. If not, click “Skip.”
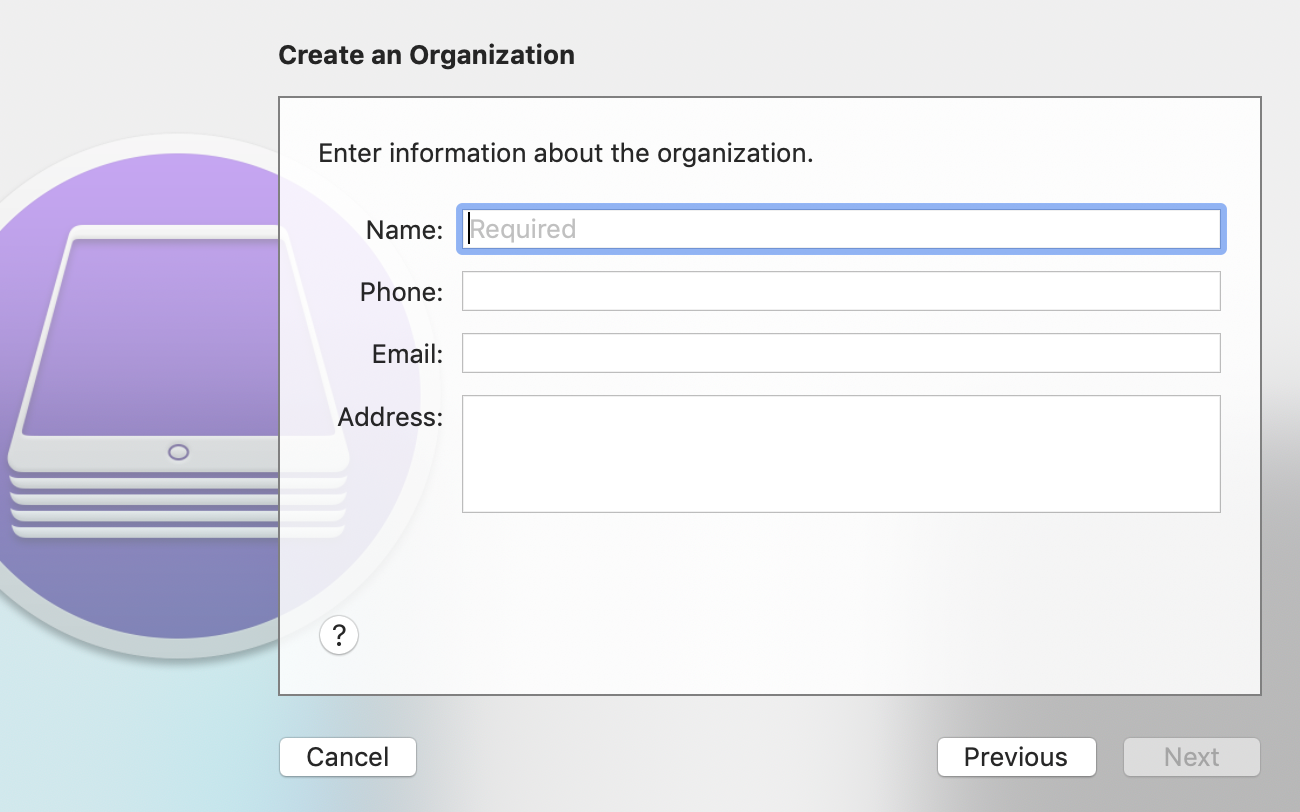
- Create an organization and enter all relevant information.
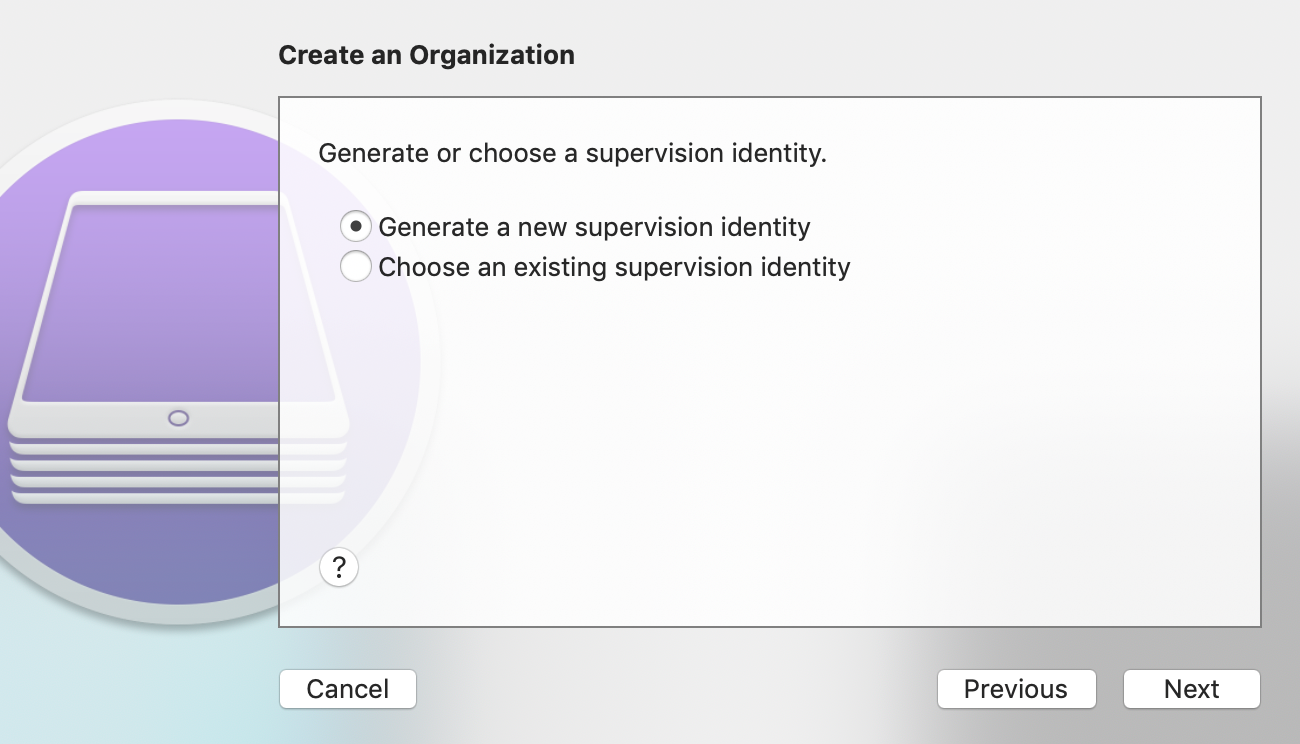
- Then, generate or chose a previously used supervision identity.
- Configure the iOS Setup Assistant. This will allow you to skip configuration menus when you set up your devices.
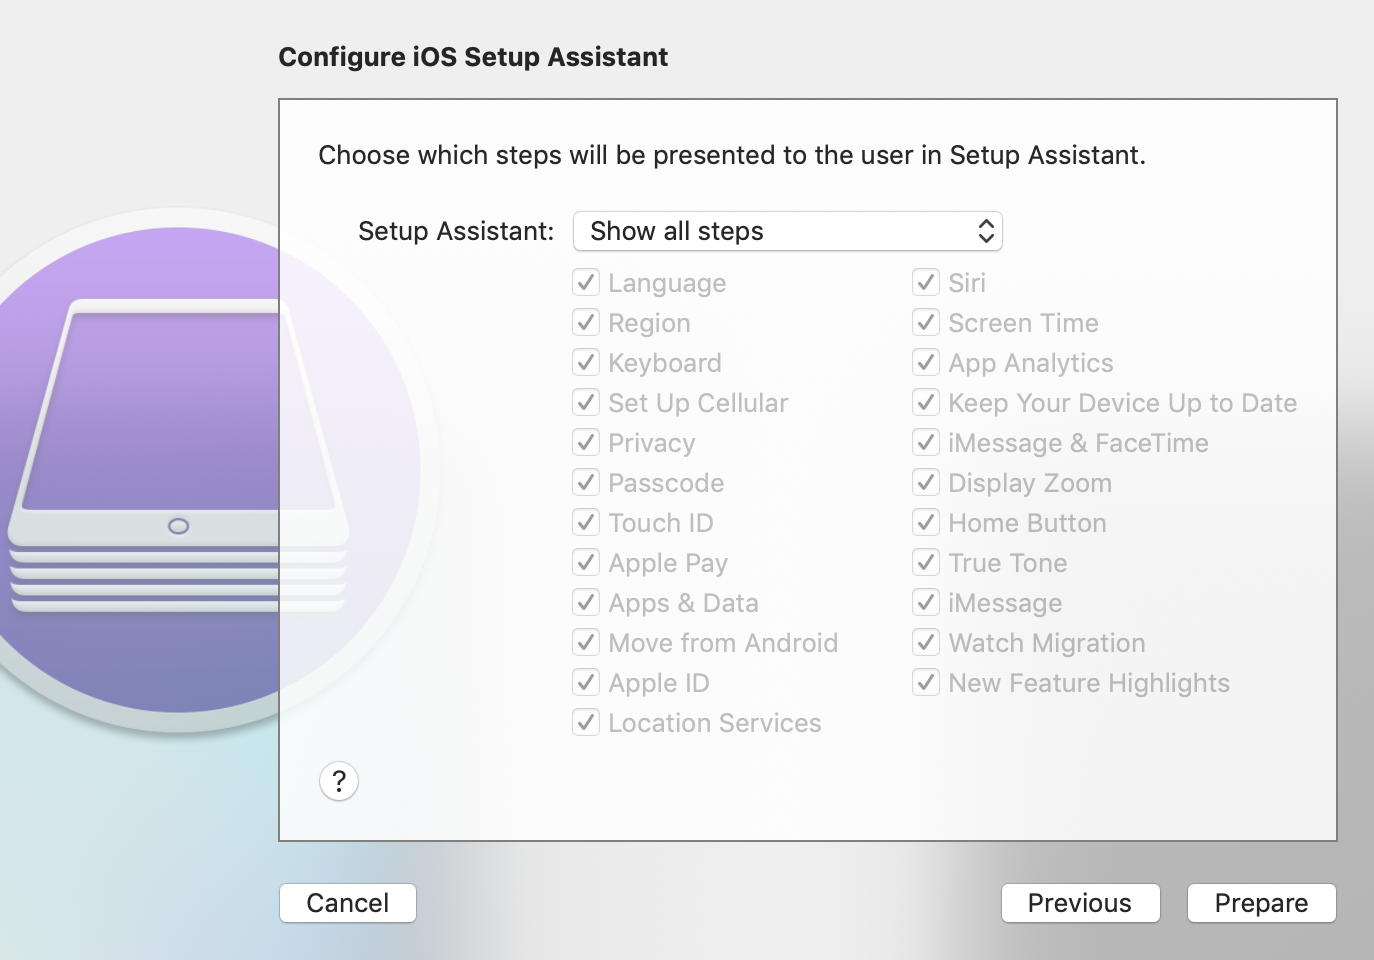
- Once you are ready to supervise your device, click “Prepare.” Note: This process will reset all device content and settings.
- Now that you have a Blue Print created, you can easily supervise additional devices by connecting your devices to your computer, then by applying the saved Blue Print that you created.

After the device returns to the “Hello” screen, go through the setup process and connect your device to WiFi and set up your device as a new iPad.
Step 3 – Enroll in Moki
- Navigate to the “Enroll” tab of Moki.
- Select an enrollment template that you would like to use to enroll your device.
- After selecting the enrollment template, select “Settings” towards the upper right-hand corner of the enrollment template.

- Finally, select “Download” to download the iOS Configuration Profile to your computer.
- Return to Apple Configurator. With your device plugged into your computer, select the device and right click on the screen.
- Select “Add” > “Profiles…”. Then, select the Configuration Profile that you downloaded from Moki and confirm the installation.
- After the MDM profile is installed, all apps assigned to the enrollment template will be installed on the device. If installing an app from the App Store, you will be prompted to enter your AppleID password since this is the first time using the device. You can avoid having to sign into the device manually by using Apple’s VPP solution.
- When you go to the Moki Management console and click on the “Devices” tab, your device will be listed.
