- Show one, or many, website videos or images
- Lock users into your web experience
- Control website navigation and sessions
- Screensavers when not in use
Step 1 – Installing Moki Kiosk
Moki Kiosk is already in your account so you can include it in your enroll code. Or, you can send it to your device from the Devices tab by selecting your device, clicking the drop-down that says Apps and selecting Moki Kiosk or MokiTouch 2.

– OR –

Once Moki Kiosk or MokiTouch 2 is installed on your device it will show up in your apps menu with the following icon. You’ll need to open the app so it registers with Moki.

– OR –

Refresh your browser and reselect your device. You will now see Moki Kiosk or MokiTouch 2 listed as an enrolled app in the device’s Details tab where you can modify the settings.

Step 2 – Moki Kiosk Settings
To start managing settings, click the Manage Settings button and then the Edit Device Settings button. When you have finished editing settings hit the Save button. You will then be able to save these settings and apply them to the rest of your devices without having to go through all of these steps. We show you how to do this in Step 3 of this article.
Moki Kiosk settings are composed of sections. The first section is General Settings, which controls access to the on-device settings menu and web display settings. The second section is Content, which controls what you display for your main content and screensaver. Section three is for limiting browsing. Section four is where you set the screensaver content and Section five is where you control the layout features.
We recommend setting an admin password and put a value in the Reset When Idle For settings so that the cache is cleared occasionally. You may also want to turn on the Navigation Buttons if your site isn’t easy to navigate around in.
Moki Kiosk Settings Definitions
General
- Admin Password – Setting an admin password adds a layer of security to the settings screen, being requested when accessing app settings on the device. Settings are accessed by dragging your finger from the top left to the top right and continuing down to the bottom right, essentially tracing the number 7
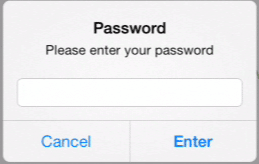
- Admin Password – Setting an admin password adds a layer of security to the settings screen, being requested when accessing app settings on the device. Settings are accessed by dragging your finger from the top left to the top right and continuing down to the bottom right, essentially tracing the number 7

- Device Volume – Controls the volume level of the device (1-15, mute). You’ll need to make sure you have the device’s volume turned on
- User Agent – Controls the display of the device. If your site isn’t displaying the way you want, play with these settings. After changing the User-Agent setting you’ll need to click the End Session button or close the app and reopen it
- Mobile Chrome – When a website is optimized for mobile it will force the mobile display instead of the full web view
- Chrome Desktop Mac – Will display like it does on a computer
- Moki – Used for identifying traffic in your analytics account. Display will be based on the settings of the site
- Show Device Info in Settings – Shows/hides the Device Info section displaying the device name, serial number, and UDID in the app settings locally on the device
- Menu Accessible – Allows/blocks ability to do the ‘7’ swipe to access the app settings locally on the device.
Content
- Content List – These are the URLs you want to show in the kiosks. Paste in web URLs to websites, videos or images. You can drag and drop to change the order they display
- Add New – Used for adding new content items. Each content item needs a title and a URL.
- Title – The title will display as the button label for the content item in kiosk mode
- Content URL – The URL to the desired website
- Dynamic URLs – Moki Kiosk supports the ability to use a dynamic URL in the Content URL field for a device-specific or tenant-specific URL
- The following strings can be added to a URL to work with this new feature:
- {{deviceName}}
- {{serialNumber}}
- {{WiFiMac}}
- {{udid}}
- {{tenantName}}
- {{tenantId}}
- For example, this:
- Becomes, this:
- Remove – Removes a content item from displaying in kiosk mode
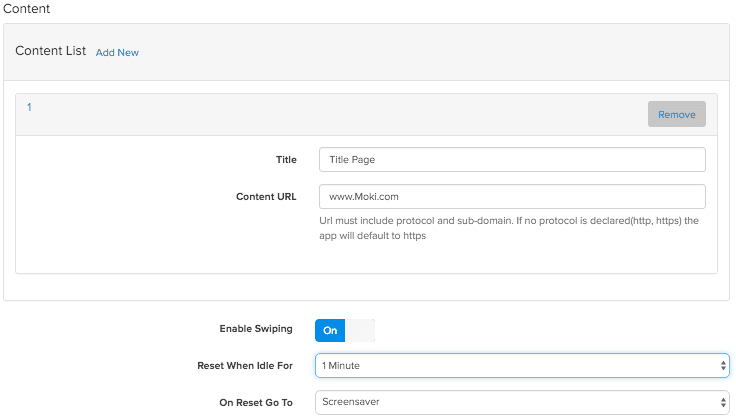
- Enable Swiping – This only matters if you are showing multiple videos. With this on you can hide the Kiosk Content bar and still navigate between the videos.
- Reset When Idle For – Sets the time the kiosks sits unused before the On Reset Go To option kicks in. This function will clear the browsing history, cookies, and cache and return the kiosk to either the Home Page or start the screensaver
- On Reset Go To – Determines what will happen when the device reaches the time indicated on the Reset When Idle For settings. Either start the screensaver or return to the home page.


Web Browsing
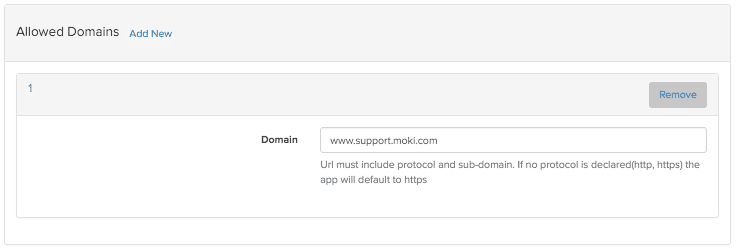
- Allowed Domains – Whitelisted domains can be set up here. Allowing access to a domain will allow all subdomains and paths of a domain to be accessible, i.e. (sub.domain.com and domain.com/path). All domains from the Content List are whitelisted automatically and don’t need to be added to this list.
- Add New – Is used for adding new domains to whitelist.
- Domain – The URL that you want to whitelist
- Remove – Removes domains from being whitelisted
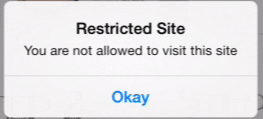
- Disallowed Site Alert – Displays a custom alert message when a disallowed site is accessed. Once activated this pop up can only be removed by the user
- Alert Message – Customizable the alert message text below the Restricted Site alert title


Screensaver Content List Setup
- Screensaver Content List Setup – The screensaver will display when a kiosk has been idle for a specified amount of time and the On Reset Go To option is set to Screensaver
- Add New – Adds the option to add screensaver content
- Content URL – The URL to a video or image file. This needs to be a direct link to the video and end in the file extension. Links to youtube don’t work. To use Dropbox, click here
- Content Display Duration (in seconds) – Set the time for images to rotate. Video files will rotate automatically after the designated time
- Remove – Removes screensaver content
Layout
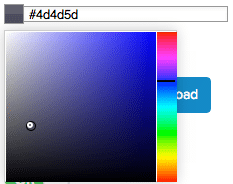
- Theme Color – This is the basic color of the kiosk home screen navigation bars. Enter the color as a hex value or select from the color picker next to the # sign
- Theme Color – This is the basic color of the kiosk home screen navigation bars. Enter the color as a hex value or select from the color picker next to the # sign

- Show MokiTouch Logo – Shows/hides MokiTouch Logo from the kiosk home screen. Turn On if you plan to use your own logo and upload it or insert your URL in the Logo Upload section
- Logo Upload – Enter the URL to your image or upload your file. Available space is 135 x 48. Supported file types are .png and .jpg. Must have the Show Moki Touch Logo set to On for it to display
- Show Navigation Buttons – Shows/hides back, forward, home, and refresh buttons on kiosk home screen
- Show Address Bar – Shows/hides the browser address bar on the kiosk home screen.
- Show End Session Button – When enabled, the End Session button will reset the kiosk back to the kiosk home screen and delete cache, cookies, and browsing history.
- Show Progress Bar – Shows a loading indicator while the initial website is loading.
- Show Kiosk Content Bar – Shows/hides the content bar on the bottom of the kiosk home screen.
- Show URL on Connection Error – Shows/hides the content URL on the error screen with the device loses internet connection.
Step 3 – Save your settings for later use
After you have your device set the way you want, follow these steps to save these settings to apply to other devices in the future.
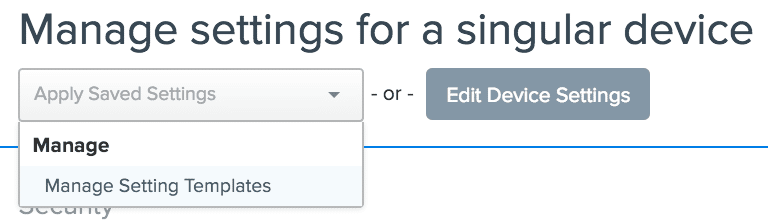
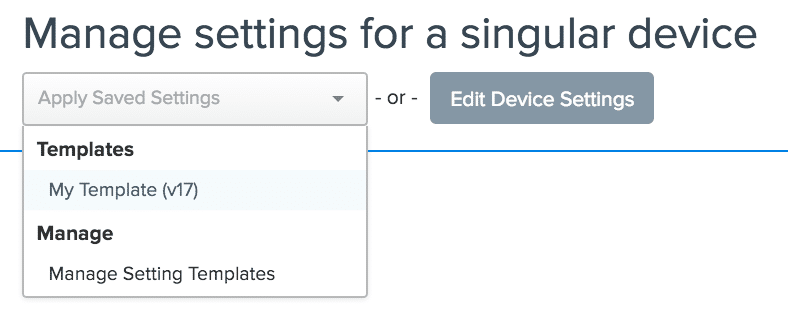
- With your device still selected, click the Manage Settings button then click the drop-down that says Apply Saved Settings
- Select Manage Settings Templates

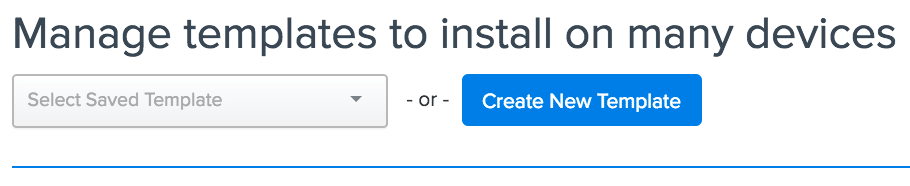
- Click the Create New Template button
- Click the Create New Template button

- Give the template a name and hit Save

- Give the template a name and hit Save

- The new template will show up in your Apply Saved Settings drop-down for you to apply to your other devices

Step 4 – Apply your Saved Settings to the rest of your devices
You can apply one device at a time by selecting the device in the Devices tab, clicking Manage Settings and selecting the Saved Template. Or, you can apply them to the entire fleet at one time from the Device Groups tab. Refer to our articles on each of these topics.
Apply an App’s Saved Settings from the Device’s Tab
Using Device Groups to Apply an App’s Saved Settings
Create and Edit Templates from the Apps Tab
Additionally, you can create and edit templates from the Apps tab.
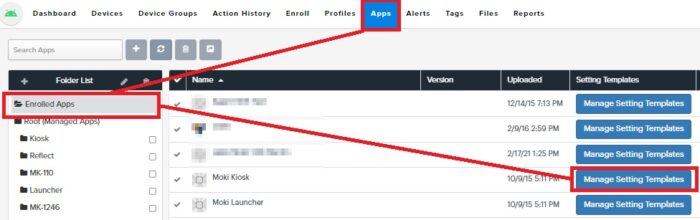
- Navigate to the Apps tab across the top
- Select the Enrolled Apps folder at left
- Find Moki Kiosk in the list of Enrolled Apps and select the Manage Setting Templates button
- At this point you can edit or create settings templates the same way as described in Step 3 above