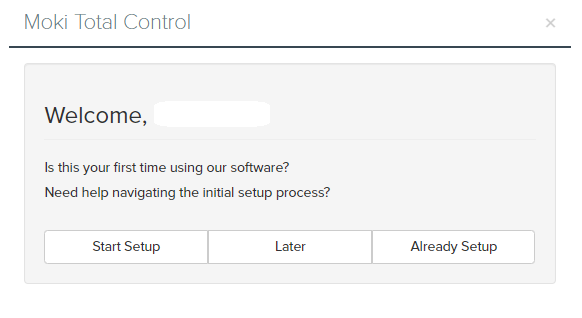
When you first login you’ll be shown a welcome guide. Click Start Setup to being creating an enrollment template. Enroll templates allow you to specify the apps, profiles and tags installed when a device is enrolled. You can have one enroll template or several of them, depending on the number of different configurations you will be using. It is our experience that most accounts only need one enroll template because their devices will all run the exact same setup.
Step 1 – Configure Account
This screen allows you to do three things; create tags for organization, create profiles for controlling lockdown settings, and add apps to your account
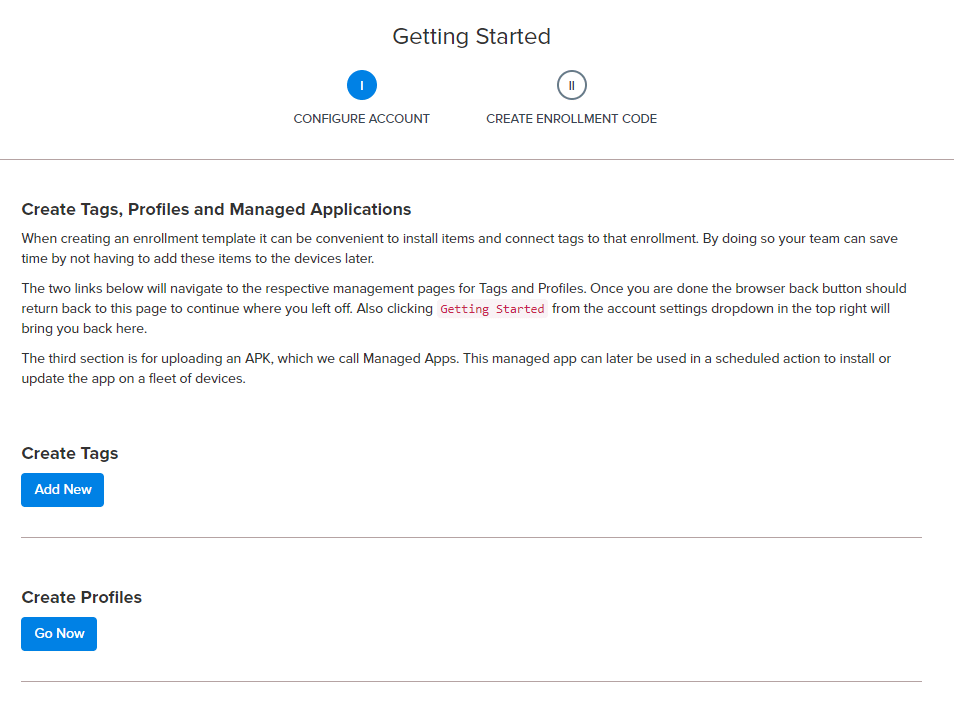
Create Tags
Tags are the method of organization and differentiation within your account and we recommend that you use them. However, at this early stage in the account we recommend that you only add tags here to your enroll template if you plan on having multiple configurations that are different or have mapped out how you will organize devices in your account. The reason we recommend holding off is because most accounts will only need one enroll template since all their devices will use the same code and thus would all receive the same tags. That kind of defeats the purpose of tags.
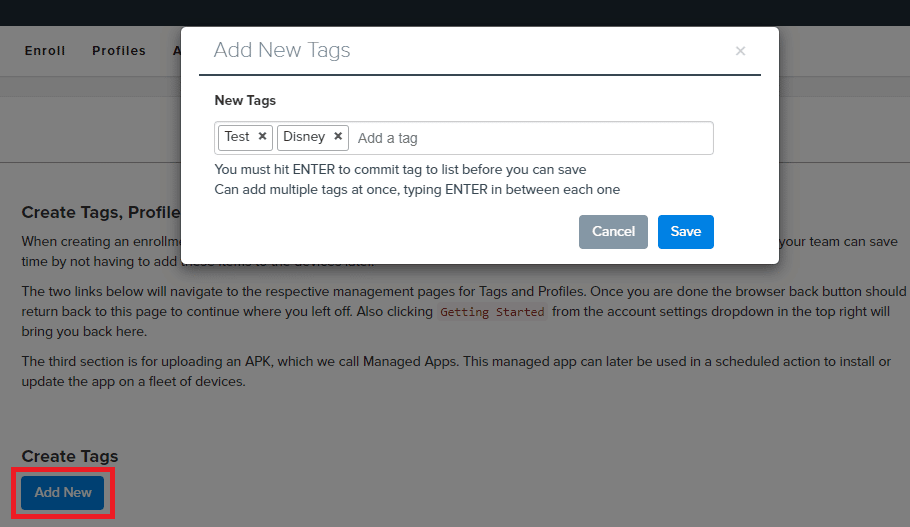
If you do want to use tags follow these steps and refer to the image above:
- Click the Add New button
- Type in your tags and hit Enter, continue adding tags in this same manner
- Hit Save when you are done
- The tags are added to your account and your enroll template
Create Profiles
Profiles are the way that we manage the settings and user experience of the device. Below is a brief description of how to create your profiles. See our recommended settings to know what device settings you can configure during this stage of the setup process.
- Click the Go Now button
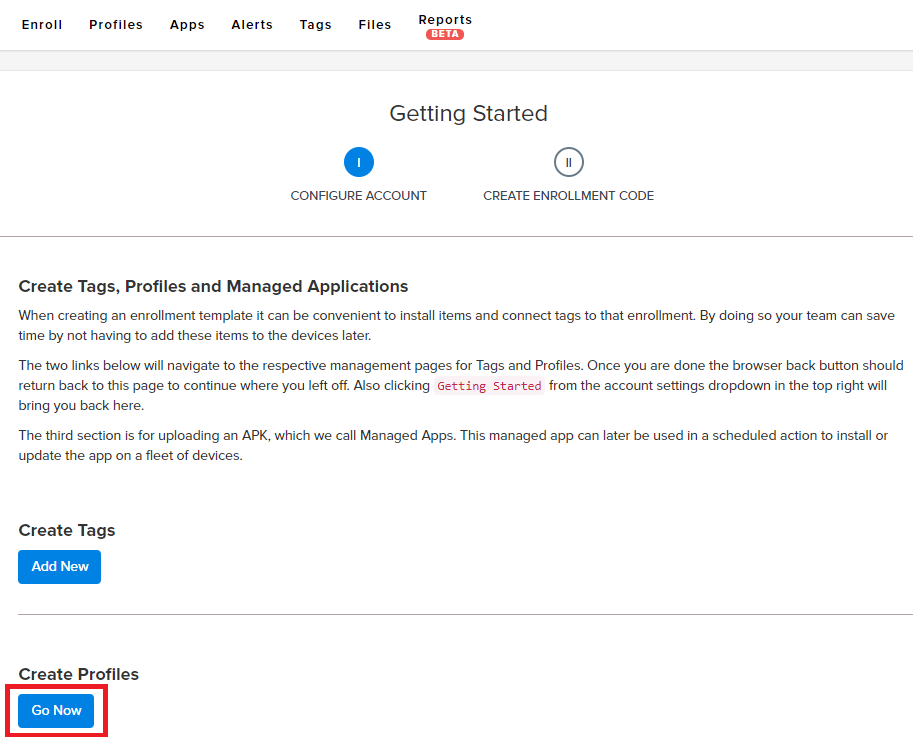
- Click the Go Now button
- Select the profile you want to create and hit New Profile

- Select the profile you want to create and hit New Profile
- Below is a brief description of the available profiles. For a more complete walkthrough on how to set each of them up please refer to this article on Android Profile Definitions.
- WiFi – Save a WiFi network SSID and password to the device so that when a network is in range it can connect without needing user interaction. There can be multiple WiFi profiles on a device at one time
- Device Settings – Control certain device settings such as screen lock, sleep timer, brightness levels and volume
- Agent Settings – Specify a time the device will restart on a daily basis and enable Face Detection for analytics
- App Lock – Specify the System UI elements you want enabled, such as navigation buttons and the pull down menu bars. Also use Watchdog to set the app you want the device to be running
- Samsung App Lock – Specifies the System UI for Samsung devices only and sets the app the device will boot into
- Timezone – Specify the time zone for the device, helpful if the device isn’t update the time zone when shipped to its final destination
- Click the browser’s Back button to go back to the Account Setup screen

Upload Managed APK
Your account comes preloaded with MokiTouch 2 and Launcher, Moki’s web browsing and custom desktop applications, learn more about Moki Kiosk and Launcher. If you are using other apps you will need to upload the .apk file into your account in order to send it to the device. We do not have an integration into the Play Store so if you don’t own the .apk file you will need to get it. There are many ways to do this but you are left to your own devices on how to get those.
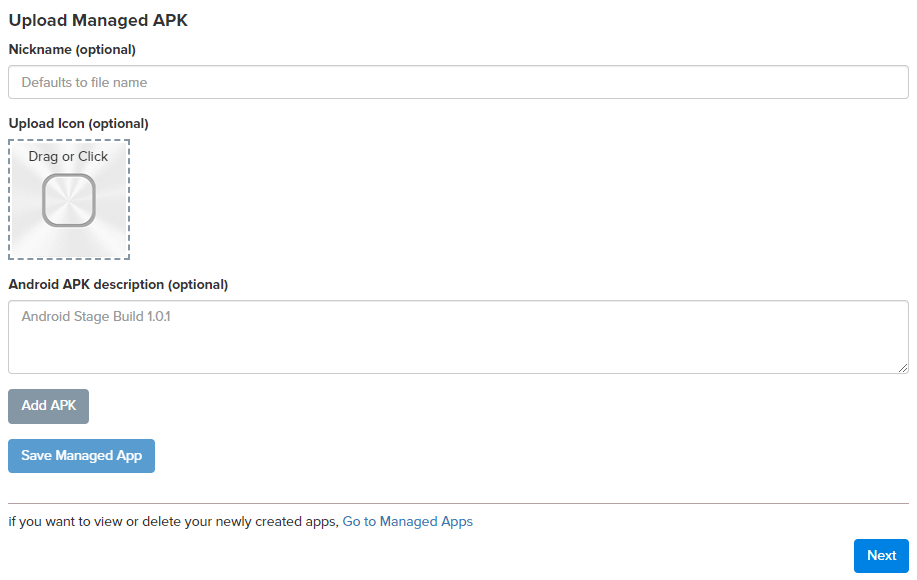
To add your .apk follow these steps (refer to the image above for reference):
- Click the Add APK button and select your .apk from your device
- Add a nickname, icon or descriptions if you choose (not required)
- Click Save Managed App
- When you have added as many apps as you have available to you hit the Next button.
- If you don’t have access to all the apps you are going to use, you can add them later from the Apps tab at the top

Step 2 – Create Enrollment Code
This is where you’ll create a code that contains all the apps, profiles and tags you want devices to receive as they enroll in Moki.
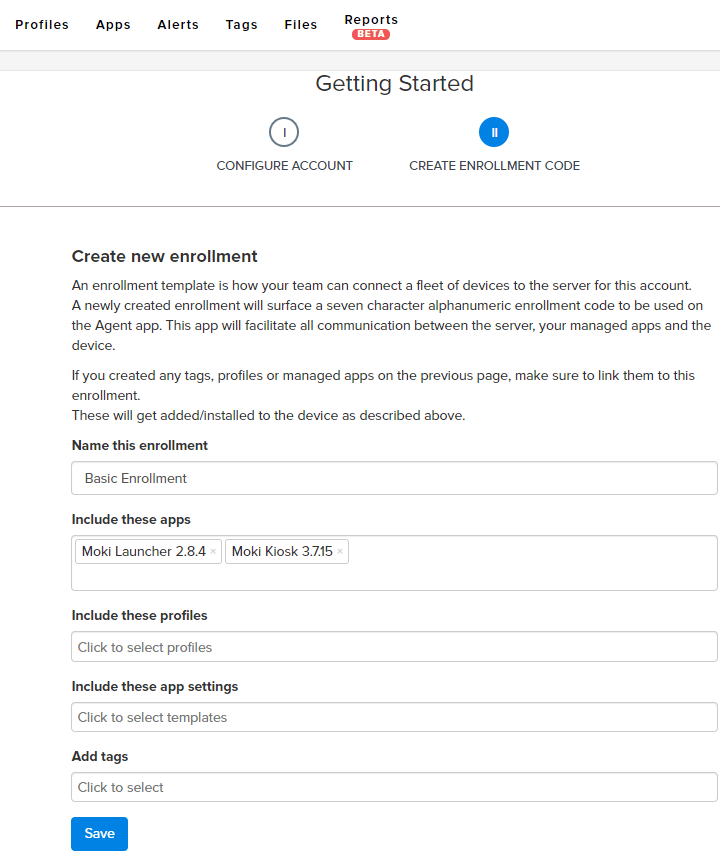
To do this you need to follow these steps (refer to the image above for reference):
- Name this enrollment – The name is only used to identify the enrollment in Moki and has no bearing or visuality on the device itself
- Include these apps – Click in the text box below the title to select from the apps in your account. You’ll notice that MokiTouch 2 and Launcher are available, as well as any apps you added. All of your apps can be installed through the enrollment
- Include these profiles – Click in the text box below the title to select from the profiles in your account. You can apply all the different types of profiles you created in your account but WiFi profiles are the only ones that can have multiple contained on the device at one time.
- Add tags – If you added any tags to the account you can add them here.
- Click the Save button and you’ll be shown the enroll code

You are now ready to use this enroll code on your devices.
Next Steps
Click the Android Device Enrollment link below to get your device enrollment steps and links to install Agent on your device.